Tulip Antoinette

 At last year's Malvern Autumn Show (2022), I bought 10 Antoinette™ tulip bulbs for Mary who was, unfortunately, stuck at home with a bad cold/laryngitis/pneumonia/Covid-19*. They were advertised as a late-flowering multi-headed chameleon tulip changing colour from green-yellow to salmon pink.

The following photographs (Photos 1-7) are enlargements from my daily garden photoshoots (View from the Rear Window series).

Photo 1: Antoinette Tulips (centre, green pot) - 23rd April

Photo 2: Antoinette Tulips (centre, green pot) - 28th April

Photo 3: Antoinette Tulips (centre, green pot) - 1st May

Photo 4: Antoinette Tulips (centre, green pot) - 5th May

Photo 5: Antoinette Tulips (centre, green pot) - 10th May

Photo 6: Antoinette Tulips (centre, green pot) - 13th May

Photo 7: Antoinette Tulips (centre, green pot) - 17th May

On average, each tulip produced just over five flowers per bulb.

Here are a few more close-up photos showing the splendour of these tulips:

Photo 8: Antoinette Tulips - 4th May

Photo 9: Antoinette Tulips - 4th May

Photo 10: Antoinette Tulips - 9th May

Photo 11: Antoinette Tulips - 11th May

Photo 12: Antoinette Tulips - 14th May

Well worth growing for some late tulip action and, provided they return in future years, excellent value for money (under a fiver!).


[* delete as appropriate depending on your hypochondriac tendencies]

Earthing-up Potatoes and Compost Sieving

"It is a mistake to think you can solve any major problems just with potatoes" - Douglas Adams 

"What I say is that, if a person really likes potatoes, they must be a pretty decent sort of person" - A. A. Milne (amended)


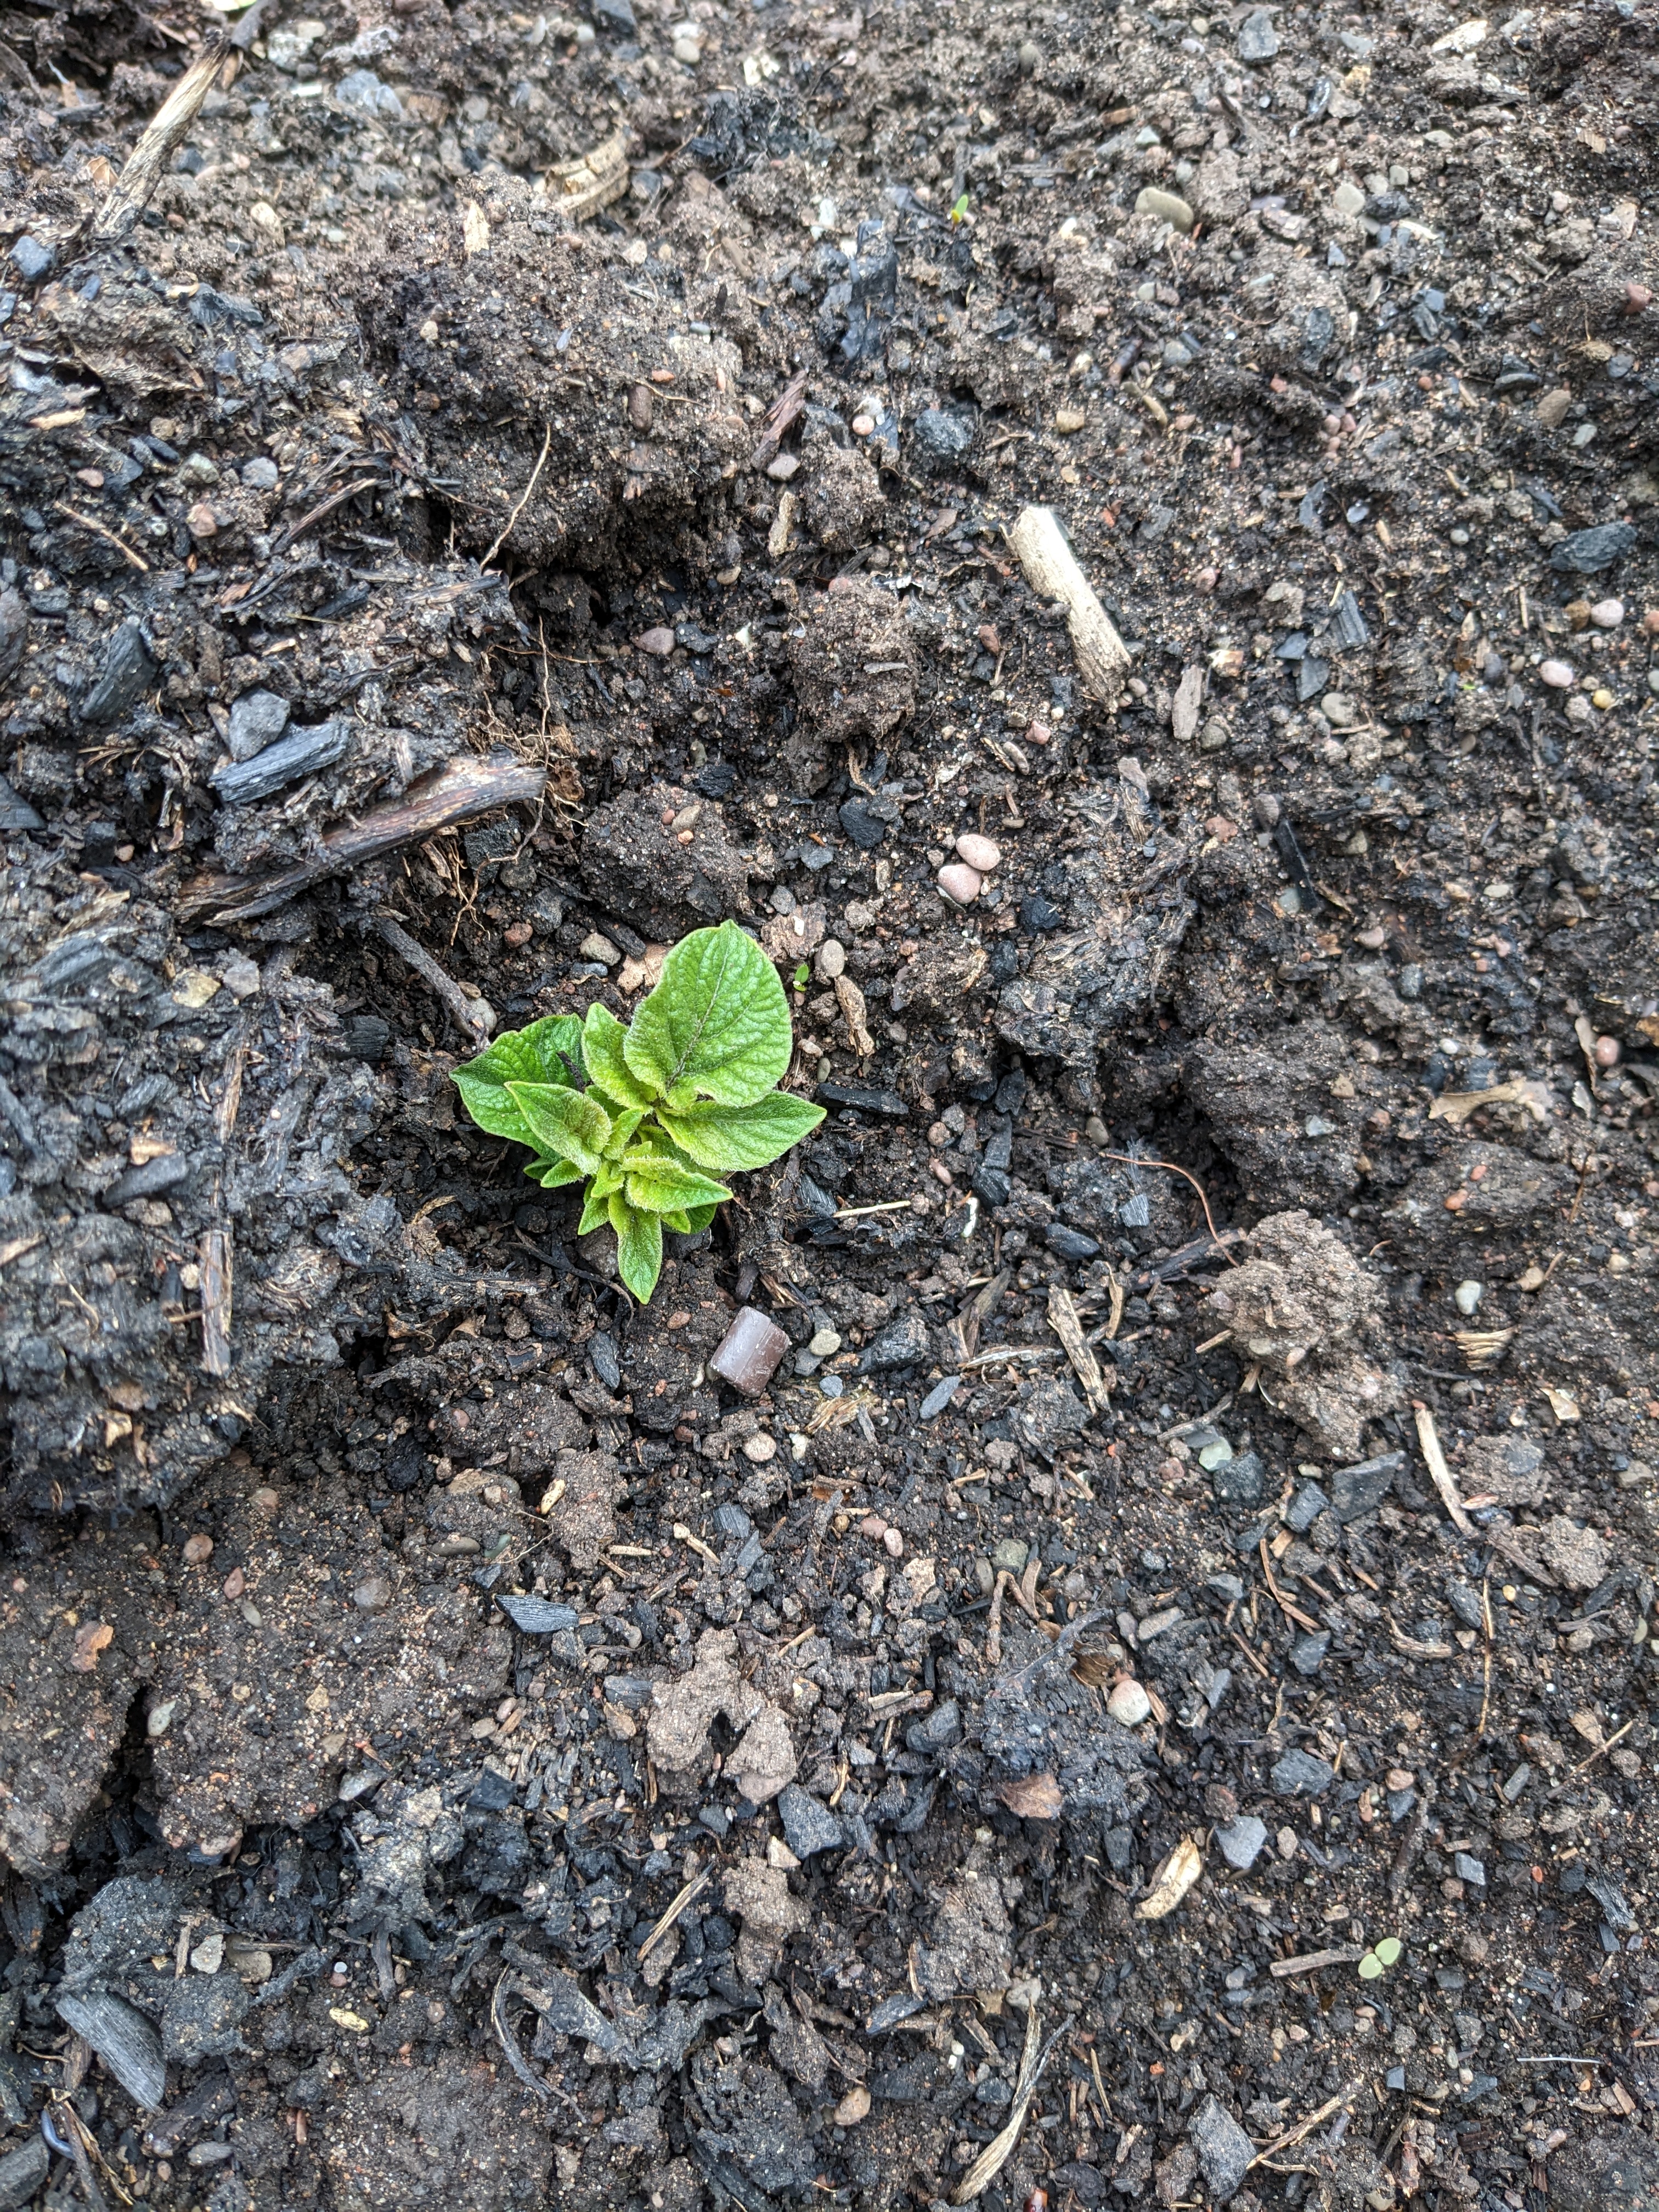
This year's seed potatoes were planted outside on 31st March after a six-week chitting period. At, or around, the 23rd of April the first green shoots appeared above ground.

Photo 1: First Foliage (23/4/23)

Since frost was predicted over the next few days, these early shoots were covered with a layer of compost. Early on the 25th April, we did indeed experience subzero temperatures, between -1 ℃ and 0 ℃, so frost damage would have been minimal anyway.

By 11th May, there was plenty of visible growth (Photo 2) and it was time to earth-up the soil around the potato shoots. The benefits of earthing-up are (i) frost protection, (ii) increased yield (more space for tubers to develop), and (iii) reduced light exposure to the near-surface tubers to prevent them from turning green. Typically, this would be done by drawing soil from the valleys to the ridges using a hoe or rake.

Photo 2: More green shoots (11th May)

However, because I grow my potato rows close together in a raised bed, I prefer to build up the ridges using homemade garden compost (Photo 3) which has the added benefits of nutrient feeding and mulching:

Photo 3: Ridge building with compost

More compost will be added to the ridges during the growing season. A similar process is used for the two potato grow bags, except the addition of coir*/compost is more often and more regular - every time new shoots appear above the surface, they are covered up with 1:1 coir*/compost until the bag is full (Photo 4).

*recovered from last year's Quadgrows and Salad/Veg Planters.

Photo 4: Full potato grow bags

This sudden burst of activity was brought on by the need to clear one of my four compost maturation bins (Photo 5). My composting process comprises an initial 'hot composting' period, to kill pathogens and weeds, followed by a slower maturation period of 6 months or more to allow the worms and other micro-organisms to do their 'business' - literally, in the case of the worms!

Photo 5: Compost Maturation Bins

I had compost from Stage 1 (hot composting) ready to move onto Stage 2 (maturation) so that I could make space in the hot composters for the recent influx of garden waste. It was the turn of MATBIN3 (third from the left or second from the right, Photo 5) to be emptied after approximately one year's maturation.

Photo 6: MATBIN3 part-emptied

The finished compost in MATBIN3 (Photo 6) was both sticky (i.e. lots of woody bits) and sticky (i.e. lots of moist black humus). This material can be used as seen to add nutrients, carbon and beneficial micro-organisms to the soil - either dug in or as a mulch. However, I also needed some sieved compost for potting-on new plants, filling up the potato grow bags, top-dressing existing pots, and surface-dressing ornamental beds (where the sticks are a little unsightly). So I decided on a sieve-lite approach whereby I filtered out about 40% of the rich humus ...

Photo 7: Sieved humus-rich compost

 ... and used the remainder ...

Photo 8: Residue after sieve-lite operation

... to earth-up the potatoes. [Note: a typical compost sieving procedure would produce between 70-90% of sieved humus-rich material with the residue returned to a maturation bin for additional processing].

In a month or so, I'll be back to earth-up the potatoes again with more compost. Time for a cup of tea, now.


IOW Trip - Cowslips, Orchids and Bluebells

 We've been away for a few days on the Isle of Wight (IOW) visiting relations and doing a bit of sightseeing. It takes 3-4 hours to drive down to the ferry at Lymington for the short sea trip (40 minutes) across to Yarmouth on the IOW. We were always told the Solent ferry crossings were the most expensive in the world on a £/km basis - probably an urban myth but costly enough that we left our car at Lymington and travelled on the ferry with our son & fiancee in their car.

To avoid any anxieties about getting to the ferry port on time, we decided to drive down a day early and stay near the ferry port in Lyndhurst. Mary chose the hotel (Penny Farthing) - the room was on the small side but reasonably cheap (£45 pppn) and an excellent breakfast was included. We were 'upgraded' from a small double - I was curious to know how much smaller they could go! We had dinner at the Passage to India across the road - highly recommended.

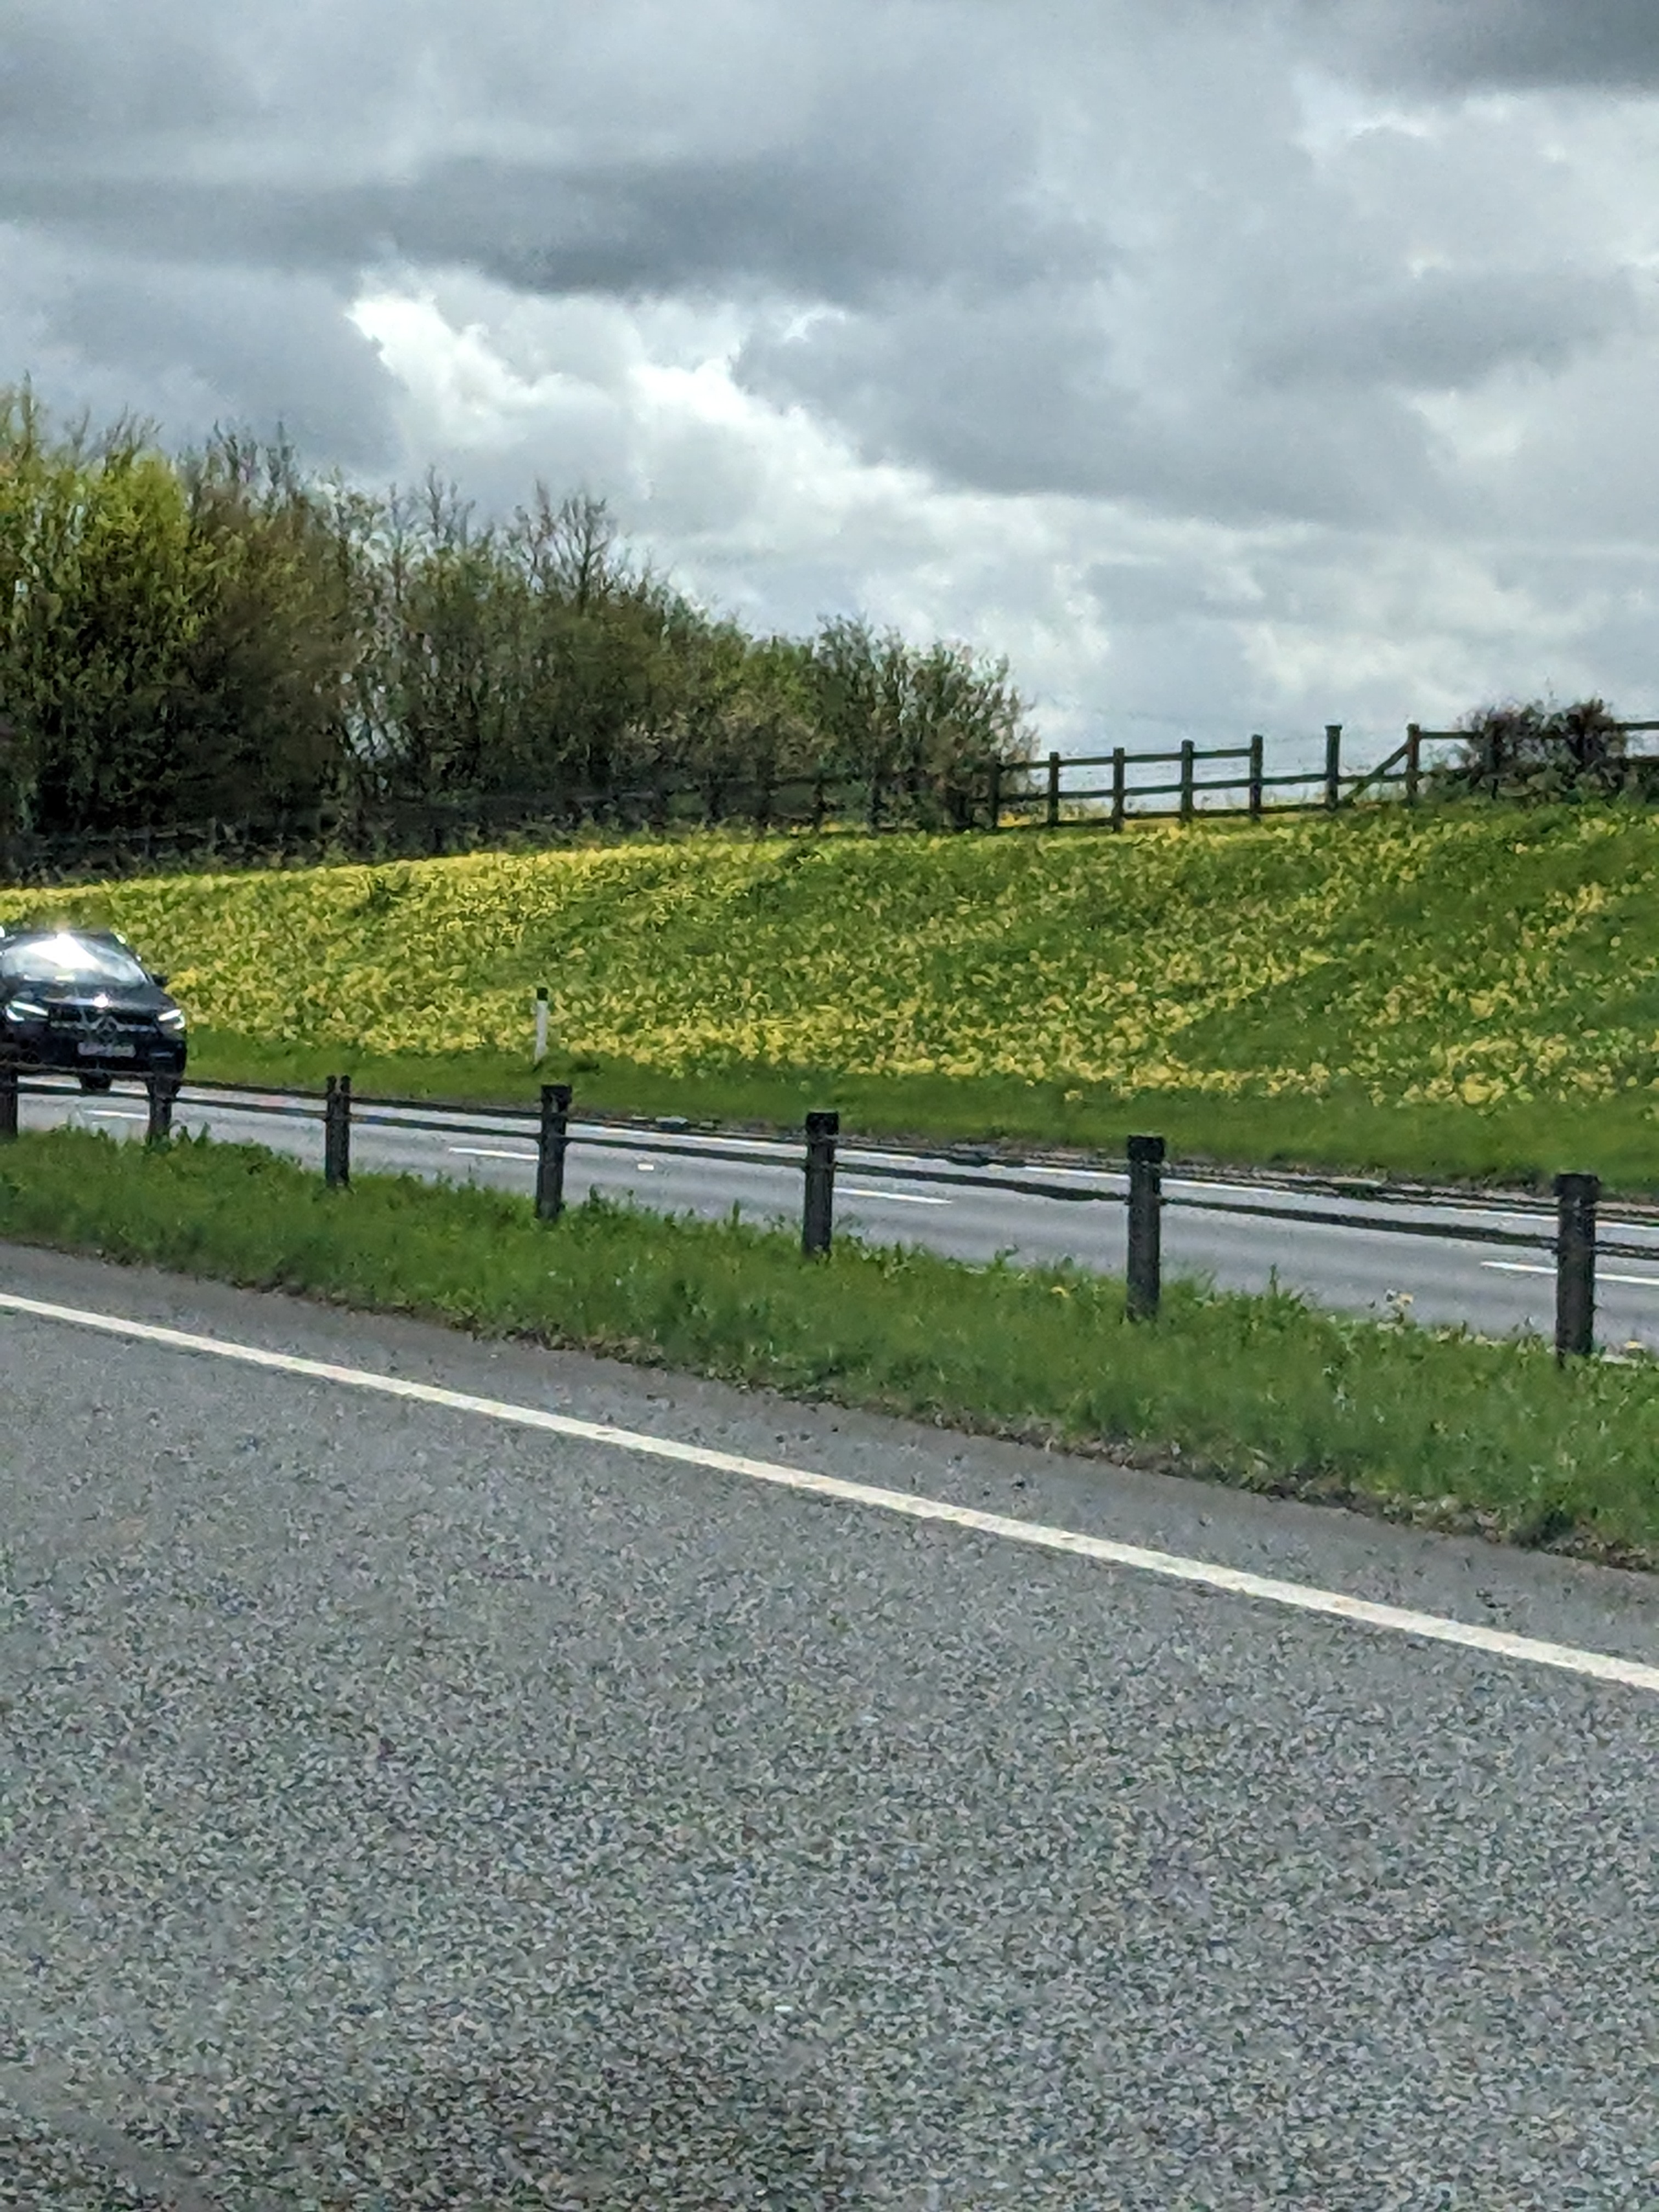
Having made the journey from Hereford to the IOW many times, there are a couple of highlights we look forward to. Firstly, when travelling in May, we get the opportunity to enjoy the carpets of cowslips along the A417 between Birdlip and Cirencester.

Photo 1: Cowslips along the A417 (5/5/23)

The second highlight is a lunch stop in Pewsey! Free car park, clean & free toilets, and Marshalls Bakery across the road - where you may purchase savoury pies and delicious cakes at very reasonable prices.

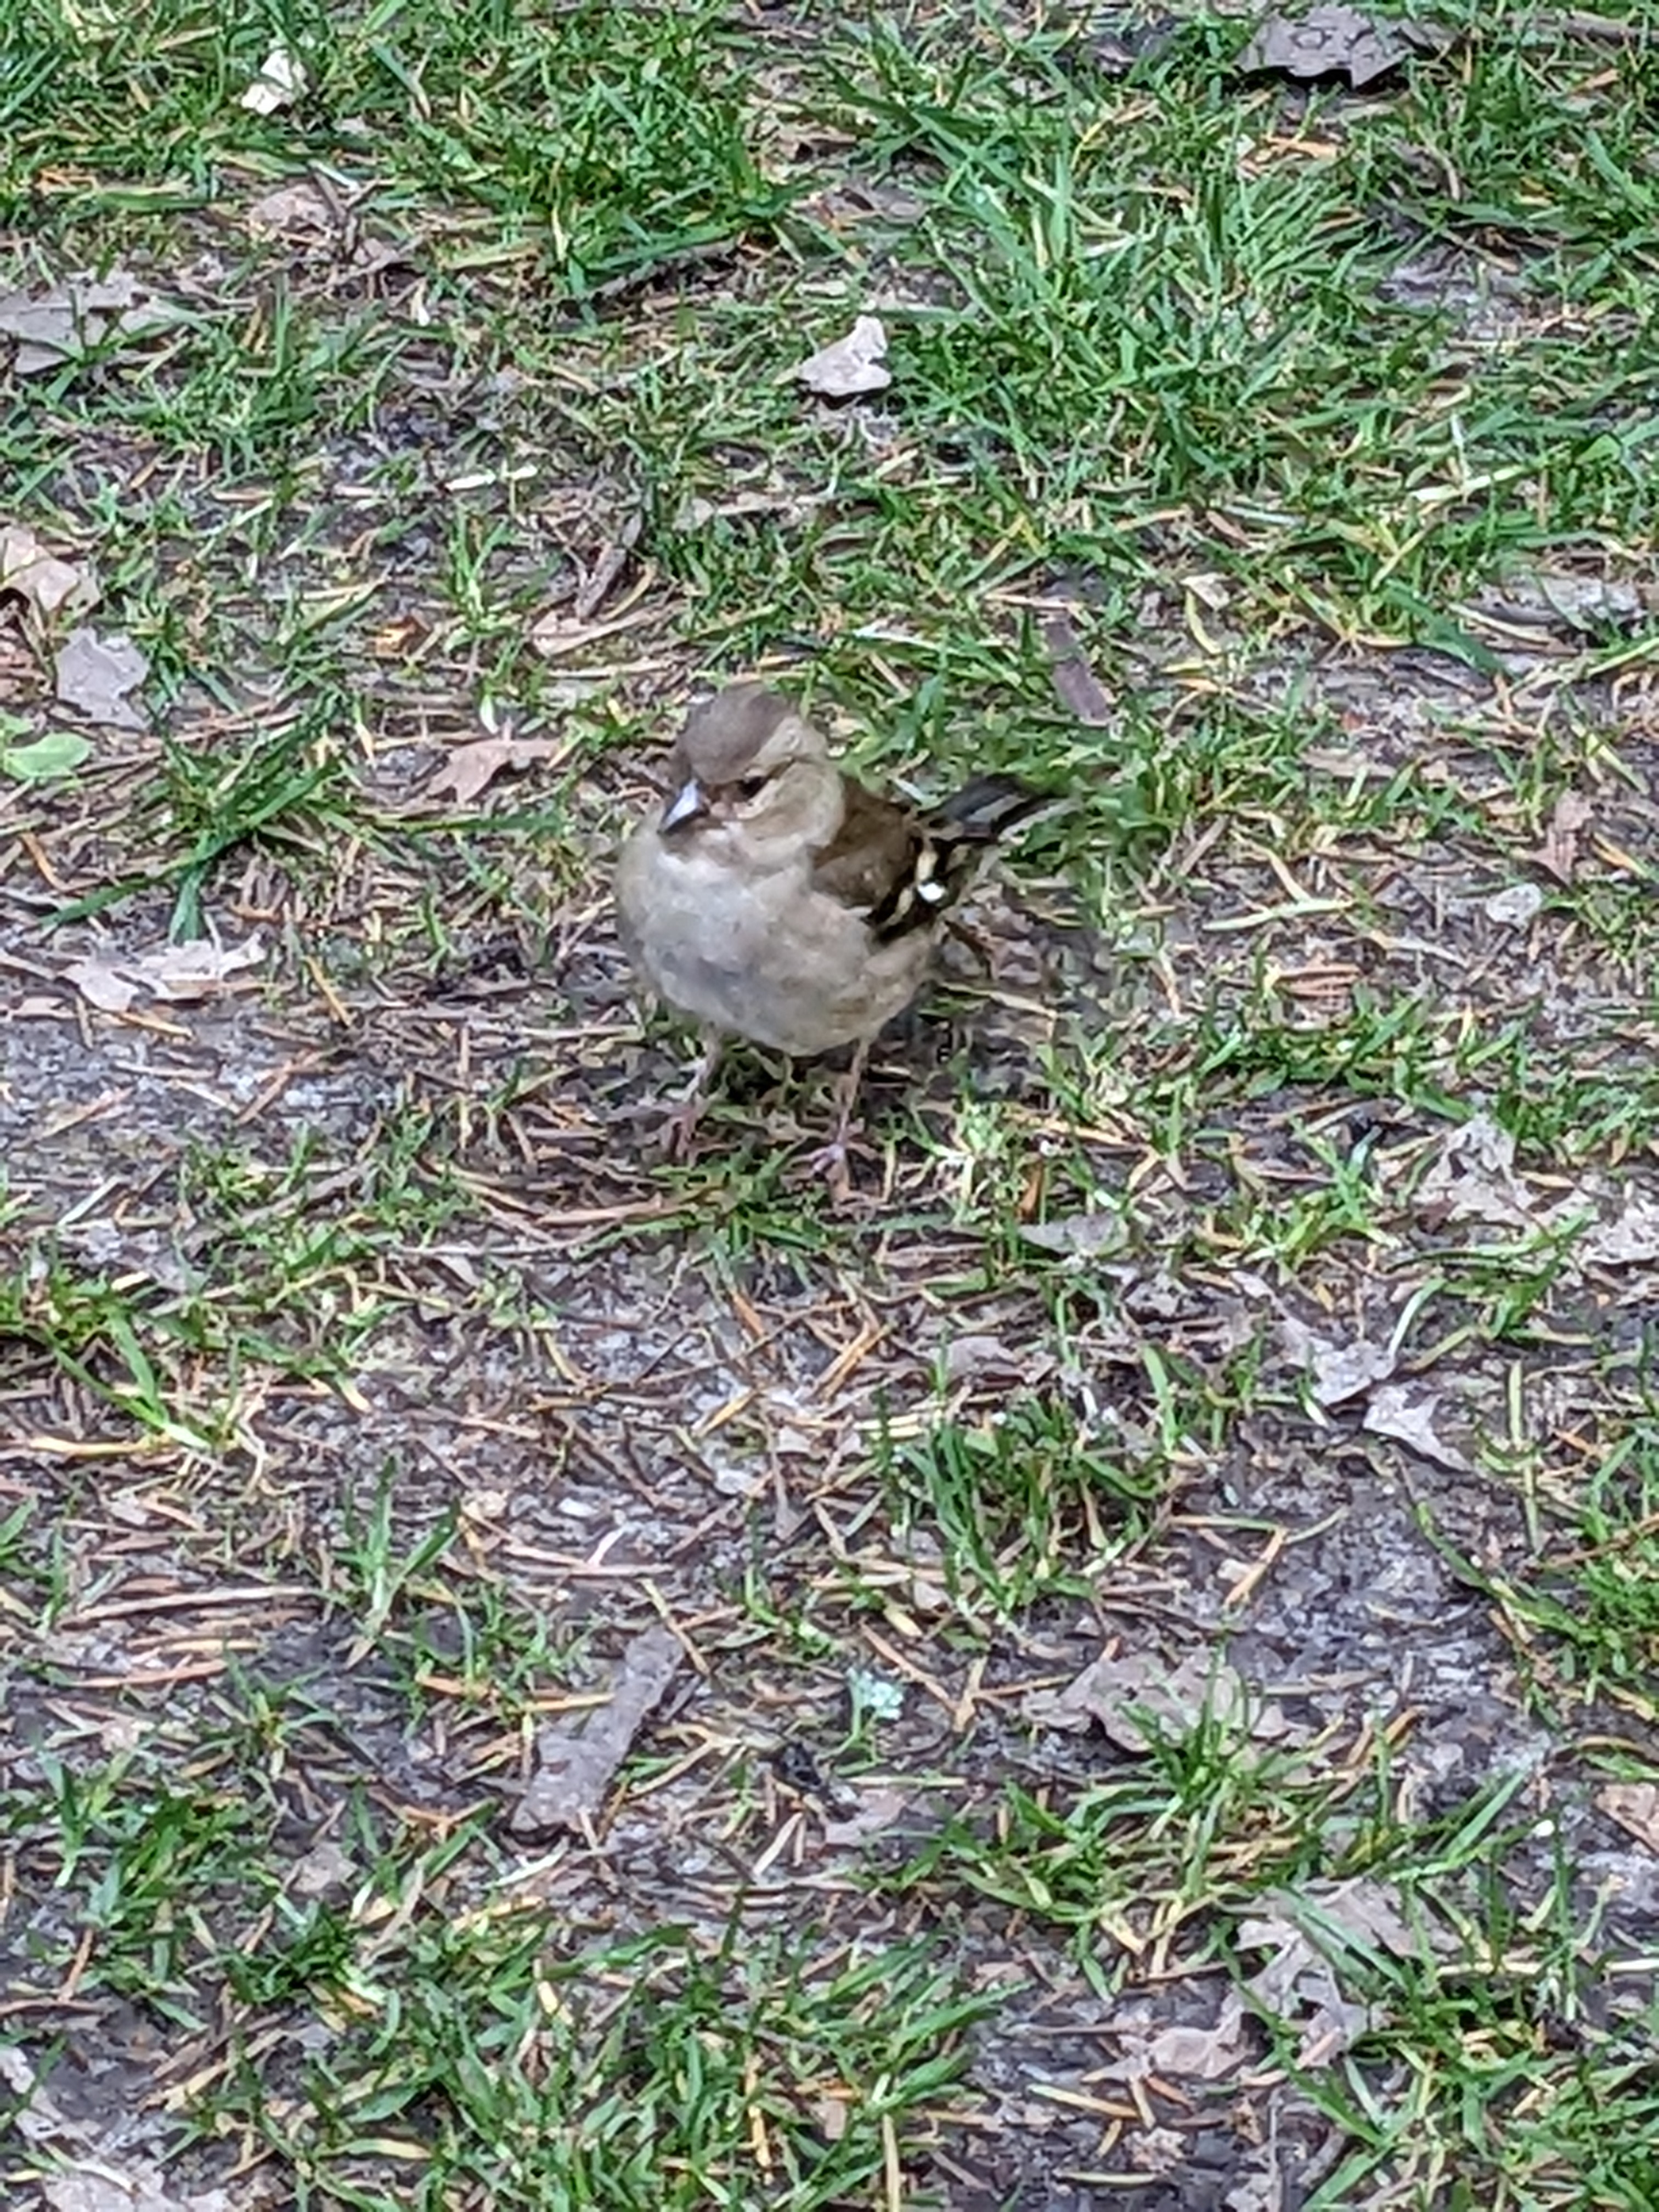
The day we travelled (5/5/23) was sunny and warm so we could enjoy an early evening stroll along the Tall Trees Trail in the Blackwater Arboretum near Lyndhurst. Giant sequoias and chaffinches, what's not to like!

Photo 2: Chaffinch in Blackwater Arboretum (5/5/23)

 
Photo 3: Giant Sequoias, Blackwater Arboretum (5/5/23)

Not too much sightseeing on the IOW as we were visiting the relations. Two of our party wanted some seaside action, so we made the trip to Sandown Pier. We were shocked at how rundown parts of the Sandown seafront were. The amusement arcades on Sandown Pier held an old-fashioned fascination for our son and his fiancee - £5 in change kept them busy for 45 minutes but, in the end, the money ran out! Following a pleasant lunch at The Bandstand, it was off to Shanklin for a brisk and breezy walk along the seafront. Shanklin lacks a pier but appeared to be in ruder health than Sandown. To finish off the day we dropped in on Arreton Barns, an arts & craft centre, with its many interesting shops and attractions - the church is worth a visit.

We attended the village Coronation Picnic on the Sunday (5th) to enjoy some jazz, tea, cakes and the inevitable raffle! Luckily, the weather was fine and warm. Later in the day we took the resident dog (Photo 4) ...

Photo 4: Resident Jack Russell

for a walk in Mill Copse to see bluebells and orchids ...

Photo 5: Bluebells in Mill Copse

Photo 6: Early Purple Orchid in Mill Copse

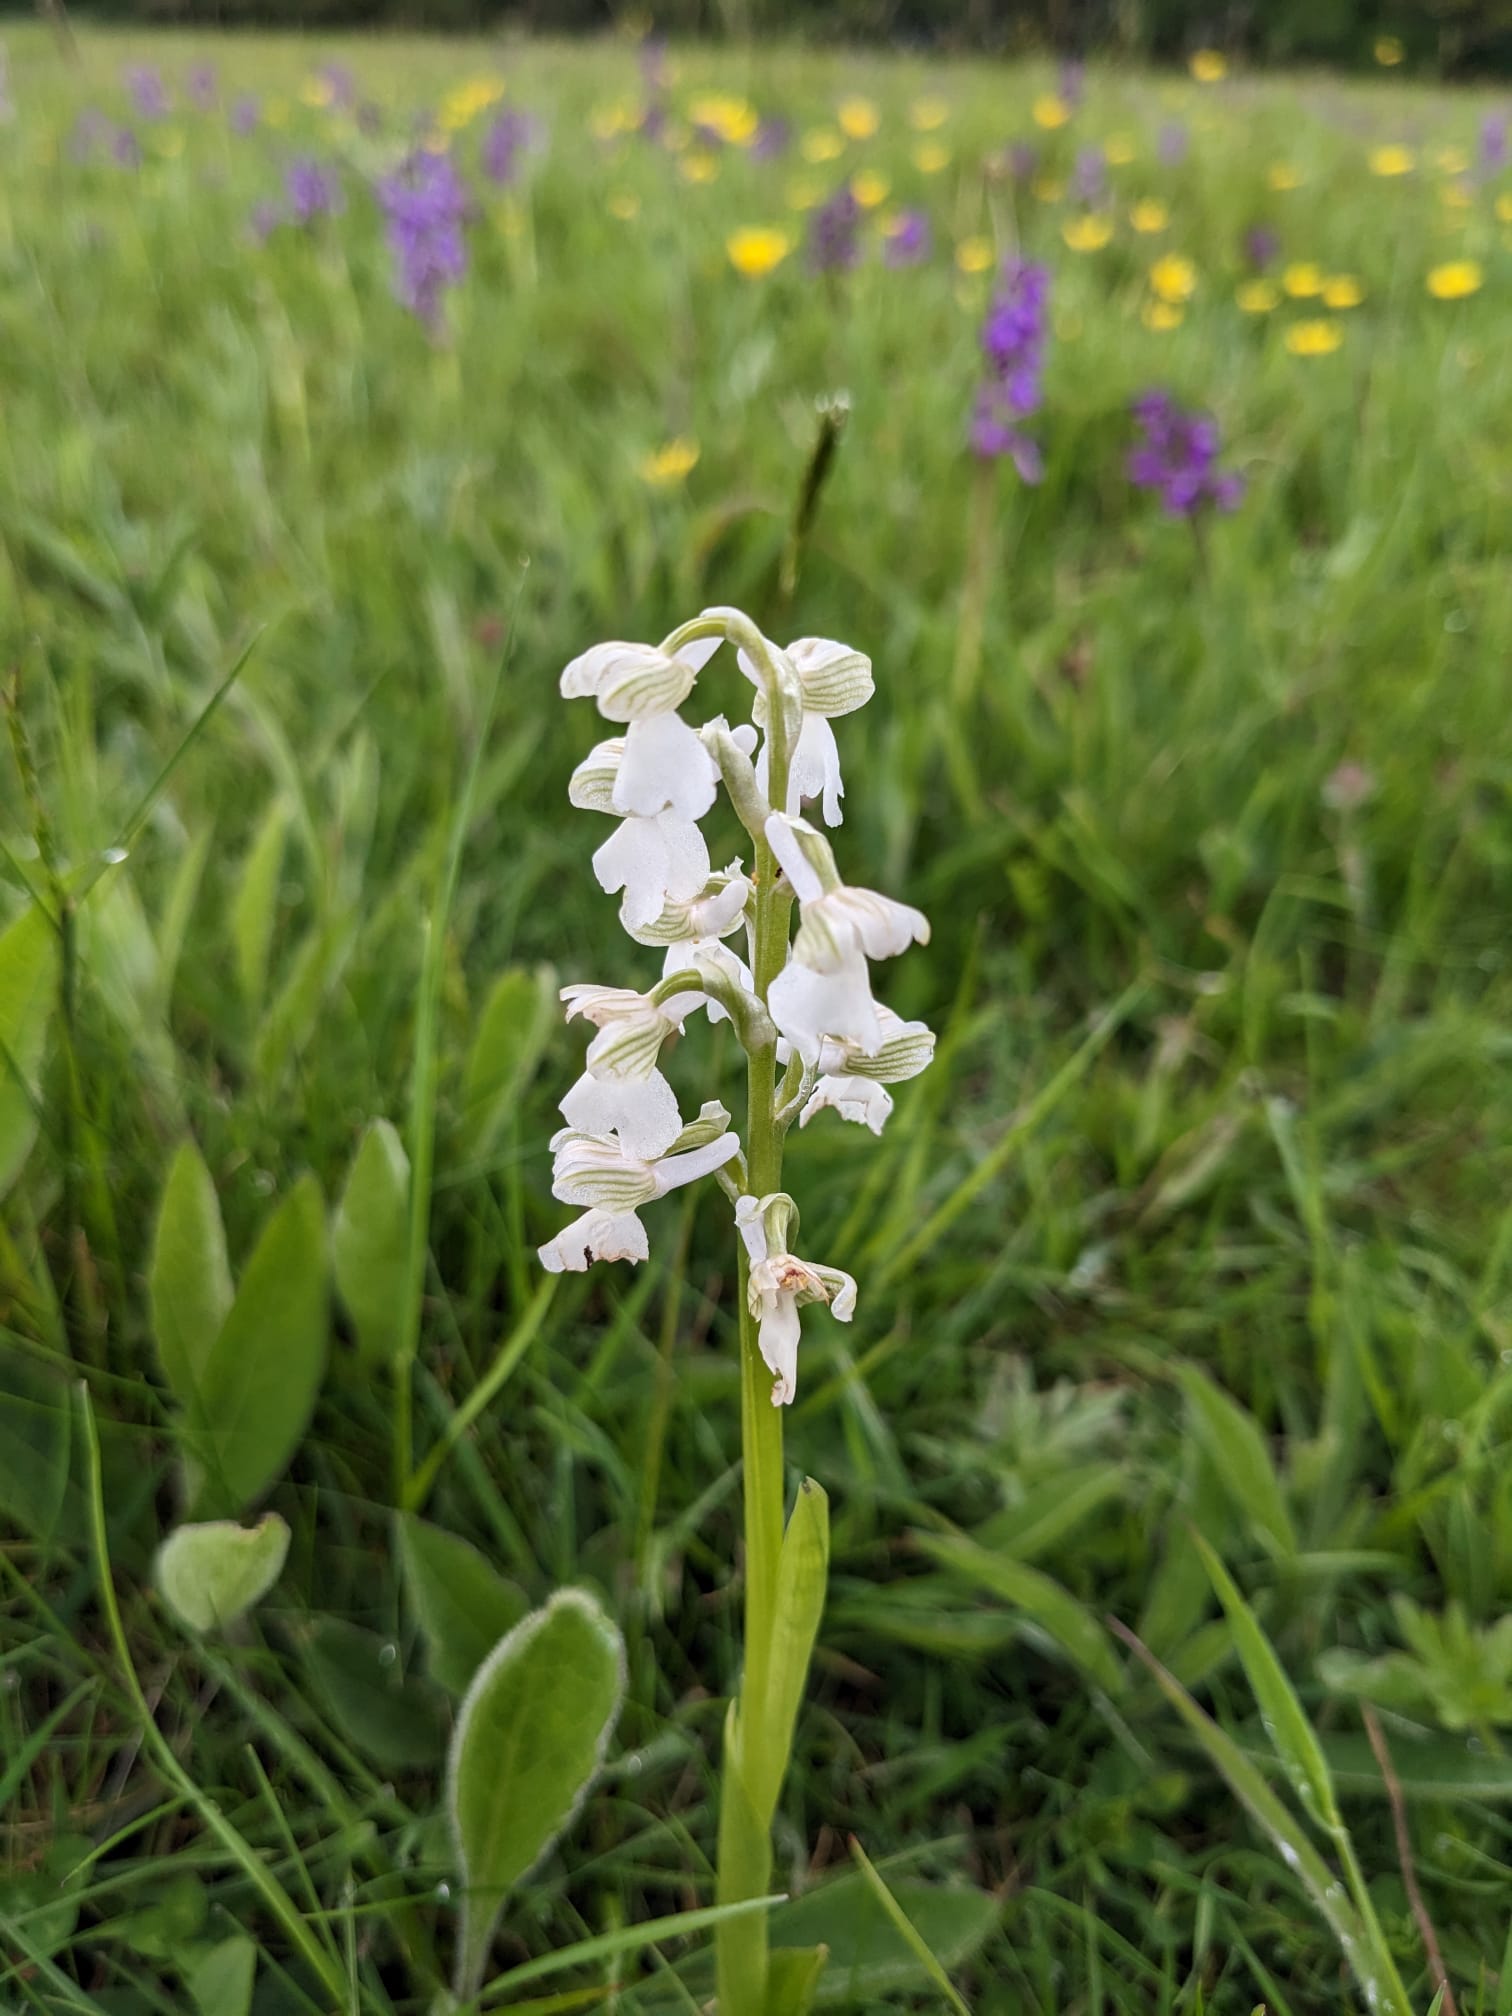
On the morning we departed for the mainland, we had a quick trip to the Newtown National Nature Reserve. Not a lot of birdwatching action but a meadow with plenty of green-winged orchid specimens (aka green-veined orchids). Colours vary from purple through pink to white; purple (Photo 7) and white (Photo 8) examples were present at this location. The green veins are most easily seen in the white form (Photo 8). Orchids can be a bit tricky to identify at times but the local National Trust staff confirmed the ID for us.

Photo 7: Green-winged Orchid - purple (IOW, 9/5/23)

Photo 8: Green-winged Orchid - white (IOW, 9/5/23)

A fairly uneventful trip back to Hereford with a stop for afternoon tea in Tidworth at the Chef's Delight Cafe. We arrived just as they were clearing up ready to close for the day which might explain why the cheese on toast was served on white bread when we had asked for brown. Nice cakes though (Photo 9). 

Photo 9: Cake Masterpieces at the Chef's Delight

One final look at the A417 cowslips in the rain ...

Photo 10: Grey skies and yellow cowslips (9/5/23)

... and after a slight detour to see the Malvern bluebells ...

Photo 11: Bluebells on the Malverns (9/5/23)

... we arrived home, tired but happy!

Common Hill Nature Reserve - First Visit of 2023

Not sure why it has taken us so long to pay our first 2023 visit to Common Hill - possibly because there is not too much to see in January, February and March! However, April is a must month to visit! And, we did finally visit on the warmest (21 ℃ in our back garden) day in April (29th). The cowslips were definitely the stars of the show ...

Photo 1: Cowslip at Common Hill (29/4/23)

along with the Early Purple Orchids ...

Photo 2: Early Purple Orchid at Common Hill (29/4/23)

and lots of Lady's Smock (aka cuckoo-flower), a major food plant for the Orange-Tip caterpillars - this specimen was photographed in the nearby Lea & Paget's Wood visited on the same day.

Photo 3: Orange-Tip () Butterfly on Cuckoo-Flower (Lea & Paget's Wood, 29/4/23)

Bluebells were present here and there on the Common Hill Nature Reserve - they were much more prevalent in Lea & Paget's Wood.

A list of the flora and fauna we spotted within the three sections of the Nature Reserve (North Meadow, Monument Hill and Rounds Meadow) that we walked through is provided below.

Flora (in flower):
Apple blossom
Barren Strawberry
Bluebell
Bugle
Cowslip
Dandelion
Dog's Mercury
Early Purple Orchid
Field Wood-rush
Goat's-beard
Ground Ivy
Lady's Smock
Lesser Celandine
Narrow-leaved Bird's-Foot Trefoil
Thyme-leaved Speedwell
Wild Strawberry
Wood Spurge

Birds:
Blackcap
Blue Tit
Chiff Chaff (widespread and constant!)
Magpie
Robin

Butterflies:
Brimstone
Holly Blue
Orange-Tip
Small White

We had been forewarned that Adder's-tongue fern was out but we had trouble finding any. April is a little early in its life cycle as they are more widely seen between June to August. And it can be difficult to spot - a small green plant surrounded by other green plants! A bit like a blind man in a dark room looking for a black cat that isn't there! (credit to Sir Marcus Browning, MP/Rowan Atkinson and Confucius).

Photo 4: Cowslips at Common Hill (29/4/23)

Photo 5: Cowslips at Common Hill (29/4/23)

Photo 6: False Oxlip in Lea & Paget's Wood (29/4/23)

And, finally, a couple of Mary's arty (though not farty) photographs of ferns in Lea & Paget's Wood ...

Photo 7: Unfurling Fronds - Lea & Paget's Wood (29/4/23)

Photo 8: British Fern (and not Fern Britton) - Lea & Paget's Wood (29/4/23)


A Hot Composting Saga (Part 4) - A Heated Debate

 See here, here and here for Parts 1, 2 & 3

Einstein is often attributed with saying "Insanity is doing the same thing over and over again and expecting the same results". [Spoiler Alert:  He didn't]. I had tried three times to get my Super Compost Bins up and running, albeit I was making small adjustments each time, but I was getting the same result every time. The compost was heating up but could not sustain temperatures within the hot composting range (40 -60 ℃). And all the while that pile of clematis stems was not getting any smaller.

Photo 1: Less than half the clematis waste

  • The first task was to take the Super Compost Bin apart and check for any obvious faults. None found.
  • The next job was to rebuild the base. The Super Compost bin does not have its own base so I built one using bricks to support the bin itself and gravel grids for drainage/air ingress. Restricted air ingress is a key factor in successful no-turning hot composting. The gravel grid had filled up with compost (very fine compost, it must be said!) over the years so I dug this out before replacing the grids. 
Photo 2: Super Compost Bin base

  • The bin was placed back on its ground base ready for the next stage.
Photo 3: Super Compost Bin on its Brick Base
  • On the outside base of the bin, I used bark chippings (2" deep) to cover the bricks and restrict air ingress (Photo 4). Another option might be to put a layer of felt (or similar) on the bricks to seal the gap between the base and the bricks. A short length of plastic tubing was inserted between the bricks and into the chamber beneath the gravel grid with the other end left exposed on the outside of the bin. This would allow a restricted supply of air into the base of the heap to encourage the composting process. The Super Compost Bin has worked successfully in the past without this modification so make be entirely superfluous.
Photo 4: Bark Seal at the Base and Air Ingress Tube

  • The final two steps in preparing the Super Compost Bin were to put a 1" (2.5 cm) layer of bark on the gravel grid (Photo 5) and then to cover the bark with a plastic mesh (Photo 6). This dual barrier is air permeable, insulating and, hopefully, will stop compost from falling into the gravel grid and clogging things up. Time will tell.
 
Photo 5: Bark covered base

Photo 6: Plastic Grid on top of Bark

  • The Super Compost Bin was then half-filled with a mixture of hot (50-60 ℃) partially-composted material (PCM) from my HotBin, warm PCM from my other (failed) Super Compost Bin, and some dilute urea solution before adding a couple of hot water bottles and covering with a mat.
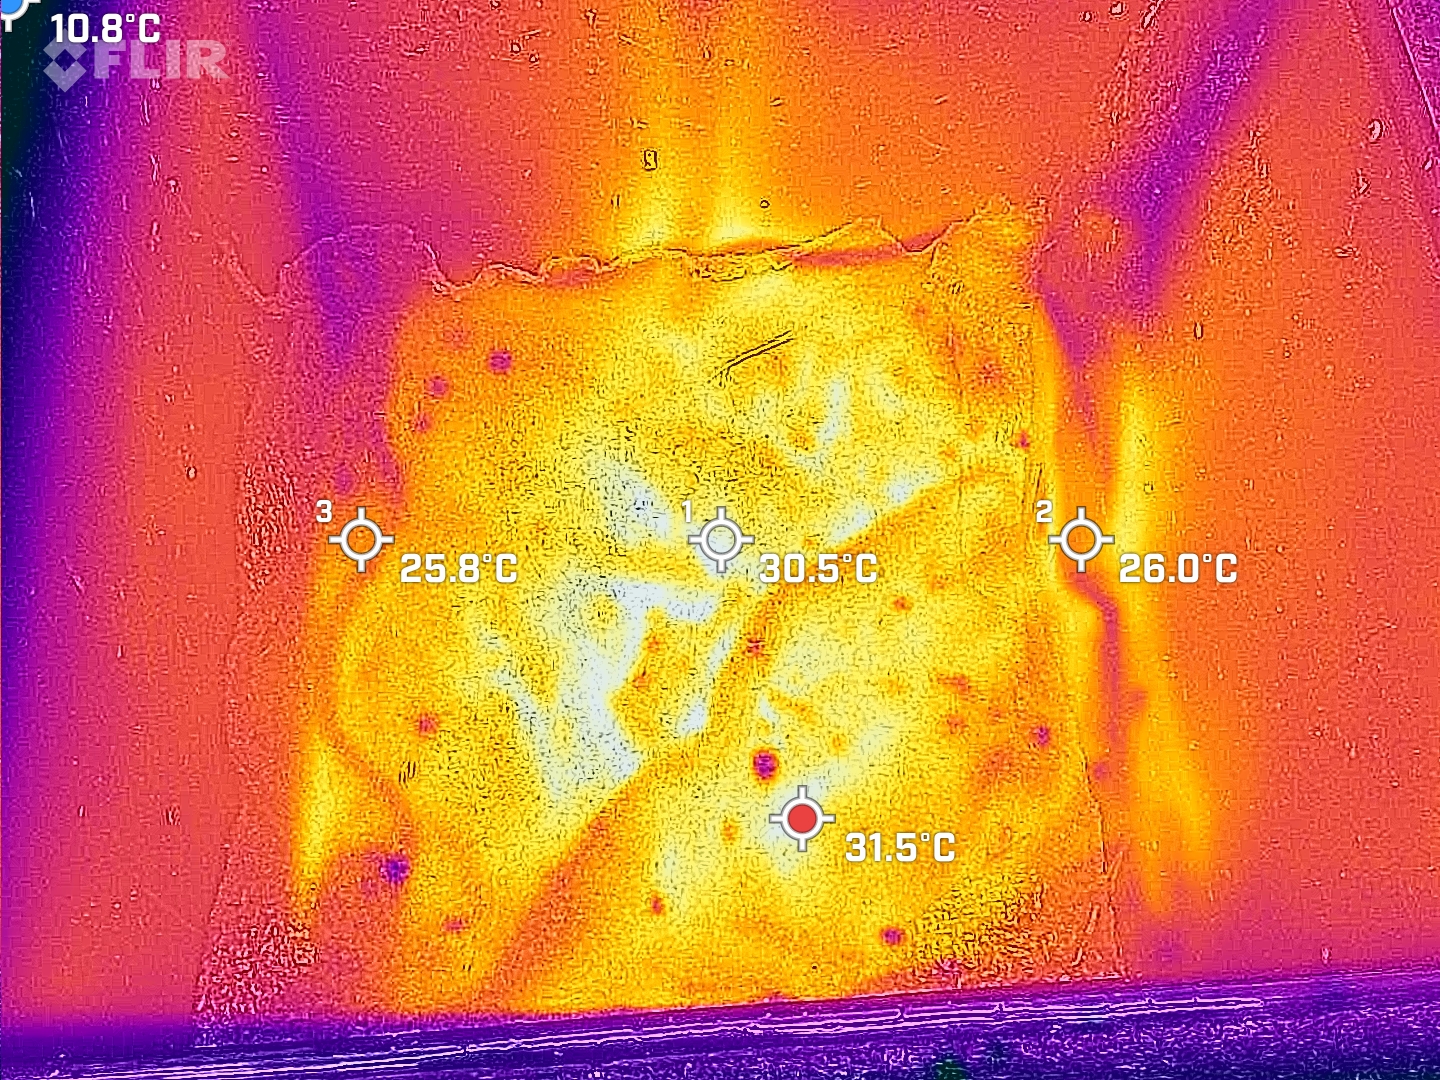
  • The following day compost temperature readings were 28 ℃ and 32 ℃ at depths of 20 cm and 10 cm. So not great. Photo 7 is an infra-red heat signature photo of the Super Compost Bin innards taken with a FLIR One Pro Camera/Pixel 4a phone combination. Note the cold spots in the corners, indicative of heat leakage.
Photo 7: Infra Red Heat Signature of Super Compost Bin Innards

Photos 8 - 10 show the infra-red photos of the front, right-hand-side and left-hand-side of the Super Compost Bin:

Photo 8: Heat Signature (Front of Super Compost Bin)

Photo 9: Heat Signature (RHS of Super Compost Bin)

Photo 10: Heat Signature (LHS of Super Compost Bin)

  • The infra-red photographs clearly show where heat is escaping: from the four corner joints and the junction between the lid and base.
  • Composting is an aerobic process which is why you need to 'turn' a standard compost pile to encourage bacterial biodegradation. The HotBin and Super Compost Bin are designed to draw in fresh air at the base via the chimney effect (as hot air rises inside the bin, the air pressure drops so that the higher air pressure outside the bin forces fresh air in at the base). This removes the requirement to 'turn' the compost pile but means there must be an escape route for the rising hot air. Heat loss at the top of the bin is expected and necessary. Ideally, any heat loss should be at the top of the bin only; preferably with some sort of control to regulate the amount of hot air escaping.
  • I suspect too much heat is escaping from the Super Compost Bin and this was preventing it from reaching and maintaining the temperatures (55 ℃ to 65 ℃) required for hot composting. The Super Compost Bin has worked without any problems in the past and nothing materially has changed.
  • I thought I'd check out the heat signature of the HotBin composter which has been operating successfully over the winter. The previous day, I had used the hottest (65 ℃) PCM from the top of the HotBin to start another Super Compost Bin; consequently, the HotBin was still 'warming' up and had not reached its routine operating temperature. The probe thermometer was recording a temperature of 48 ℃ at a 10 cm depth when this infra-red photograph was taken (Photo 11).
Photo 11: Infra-red Heat Signature of HotBin Innards
  • The infra-red photograph of the HotBin, along with the maturation bins (cold compost) is shown below (Photo 12). The hotspot (indicated by the red dot, 8.5 ℃) is the Hotbin vent (see Photo 13) and there are no obvious heat leakages from the HotBin.
Photo 12: Infra-Red Photograph of HotBin and Maturation Bins (24/3/23)

Photo 13: HotBin Vent Hotspot

  • This sideways on view of the HotBin demonstrates the absence of any cold spots/heat leakages from the main body or the lid/base seal.
Photo 14: Infra-Red Photograph of HotBin (24/3/23)

  • So the next step will be to see if we can eliminate the cold spots found on the Super Compost Bins.
... to be continued.

Popular Posts

Blog Archive