"It is a mistake to think you can solve any major problems just with potatoes" - Douglas Adams
"What I say is that, if a person really likes potatoes, they must be a pretty decent sort of person" - A. A. Milne (amended)
This year's seed potatoes were planted outside on 31st March after a six-week chitting period. At, or around, the 23rd of April the first green shoots appeared above ground.
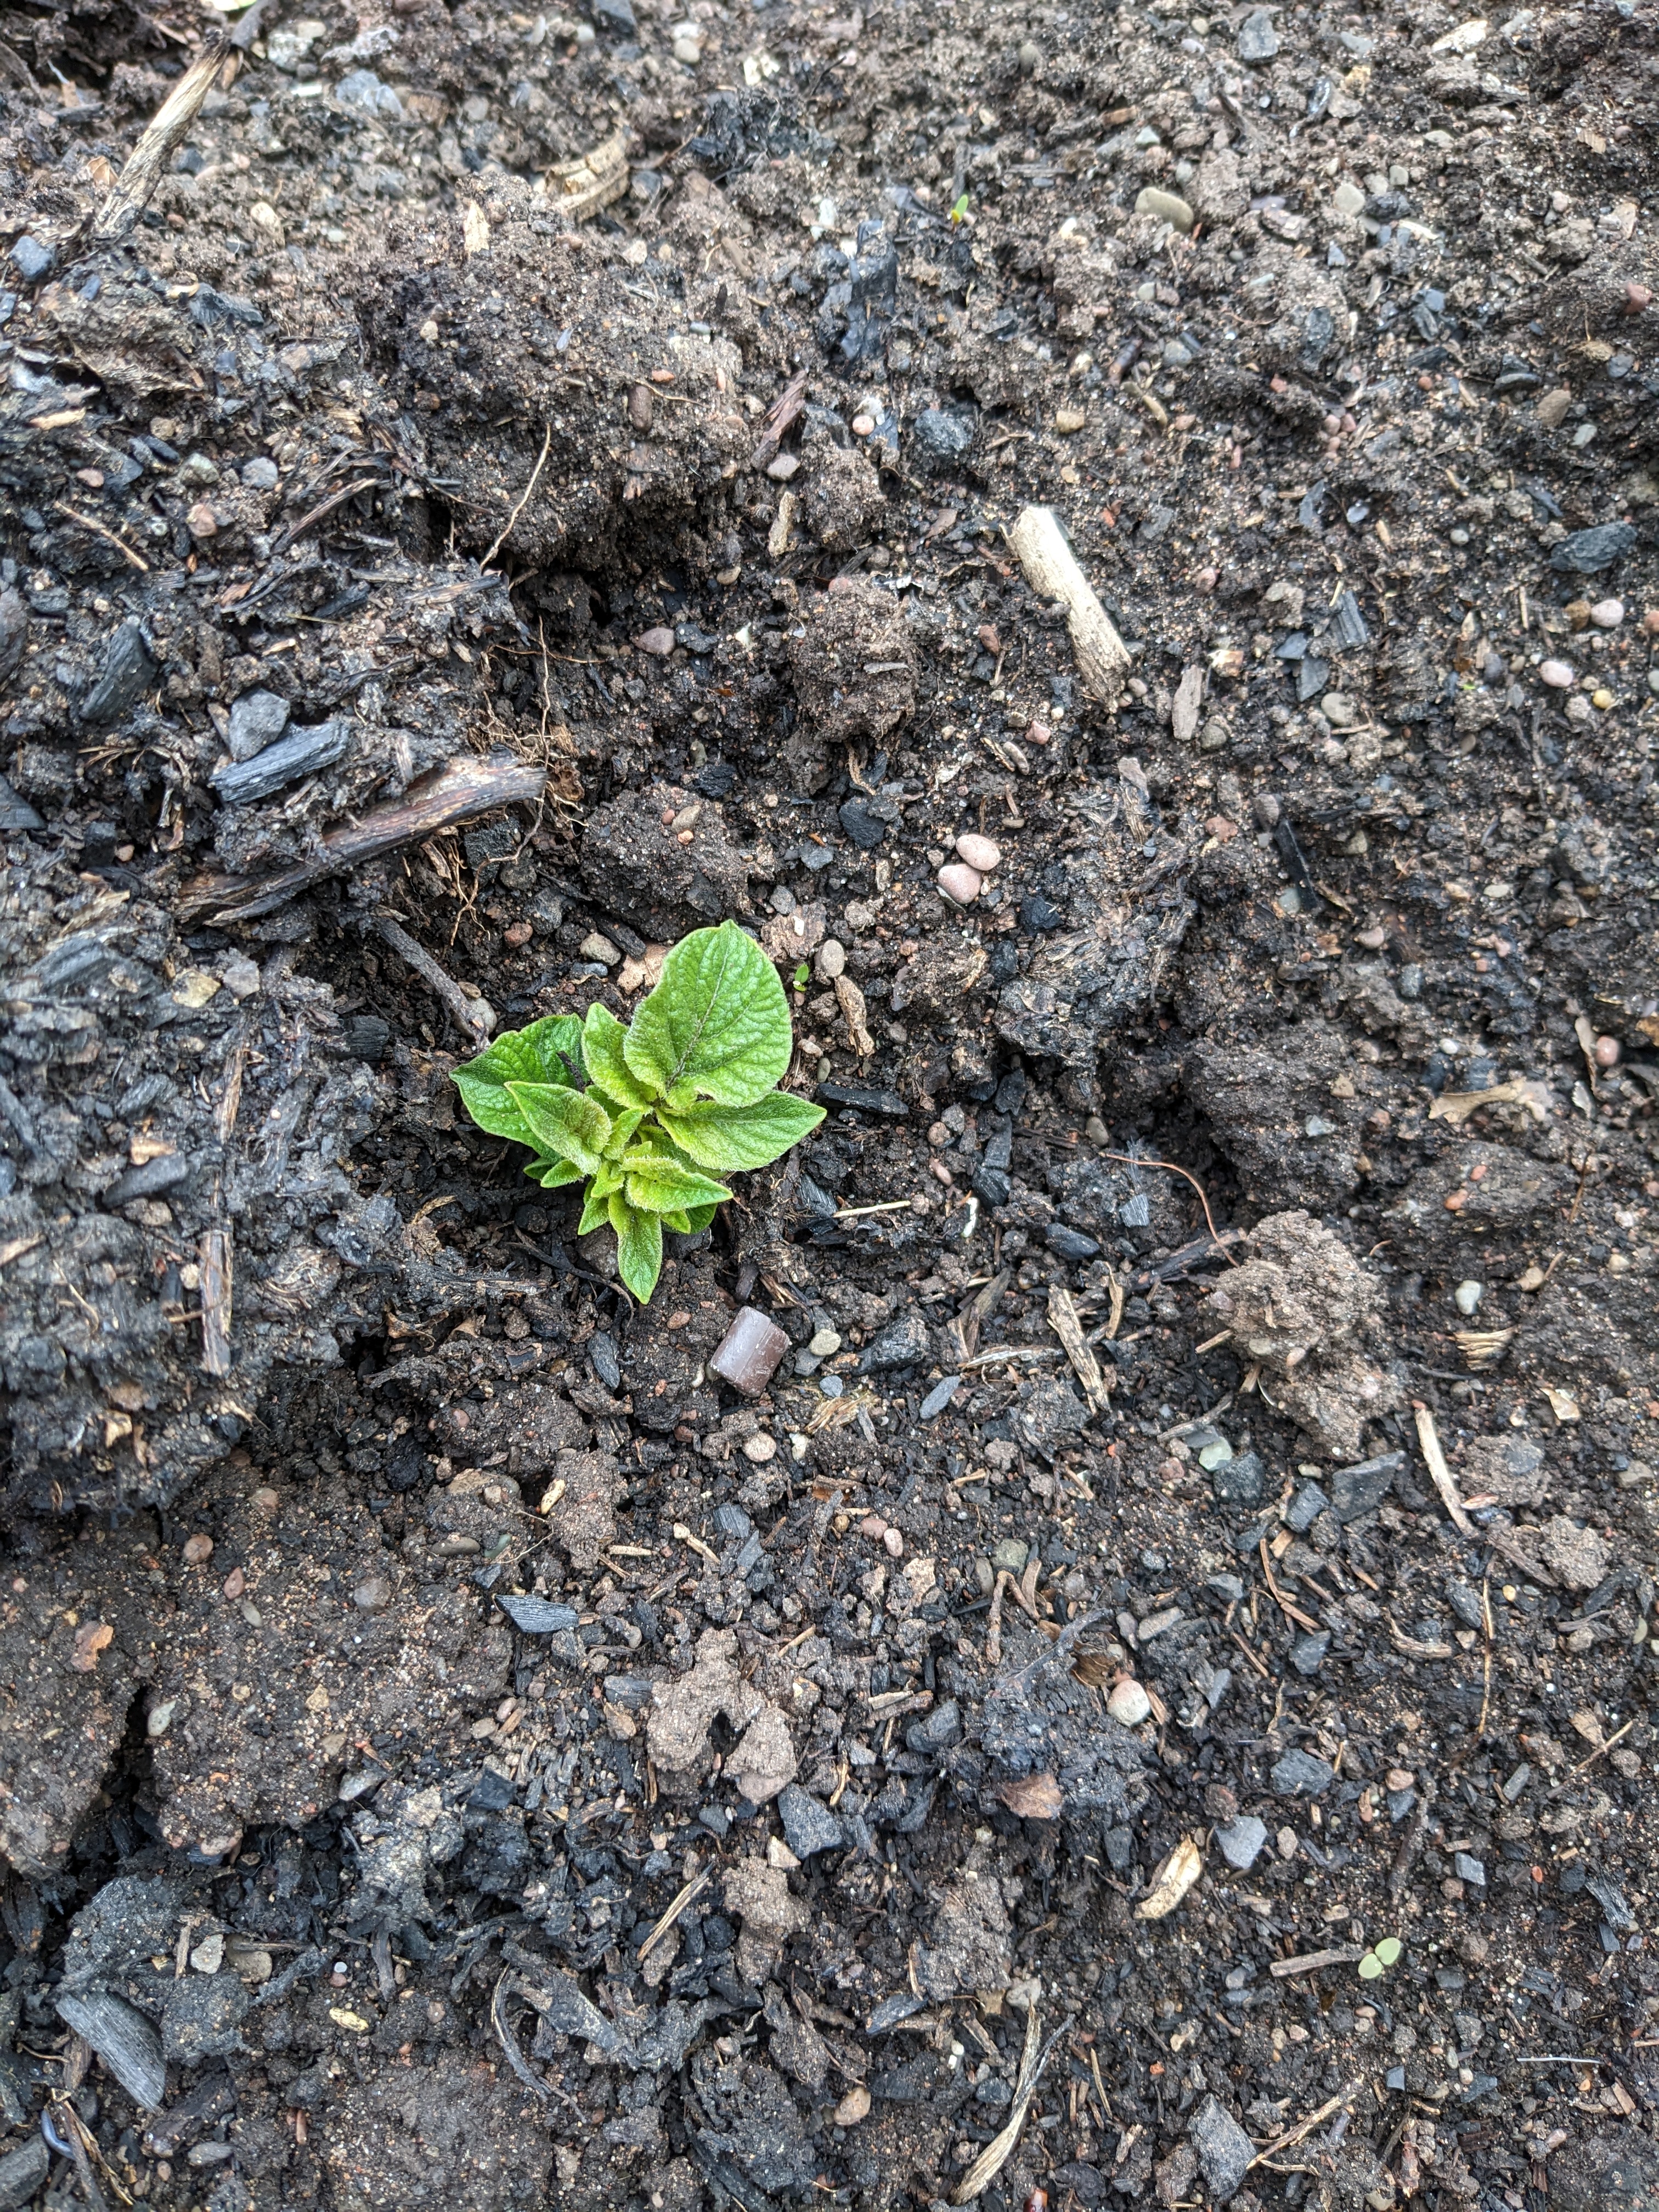 |
| Photo 1: First Foliage (23/4/23) |
Since frost was predicted over the next few days, these early shoots were covered with a layer of compost. Early on the 25th April, we did indeed experience subzero temperatures, between -1 ℃ and 0 ℃, so frost damage would have been minimal anyway.
 |
| Photo 2: More green shoots (11th May) |
 |
| Photo 3: Ridge building with compost |
 |
| Photo 4: Full potato grow bags |
 |
| Photo 5: Compost Maturation Bins |
I had compost from Stage 1 (hot composting) ready to move onto Stage 2 (maturation) so that I could make space in the hot composters for the recent influx of garden waste. It was the turn of MATBIN3 (third from the left or second from the right, Photo 5) to be emptied after approximately one year's maturation.
 |
| Photo 6: MATBIN3 part-emptied |
The finished compost in MATBIN3 (Photo 6) was both sticky (i.e. lots of woody bits) and sticky (i.e. lots of moist black humus). This material can be used as seen to add nutrients, carbon and beneficial micro-organisms to the soil - either dug in or as a mulch. However, I also needed some sieved compost for potting-on new plants, filling up the potato grow bags, top-dressing existing pots, and surface-dressing ornamental beds (where the sticks are a little unsightly). So I decided on a sieve-lite approach whereby I filtered out about 40% of the rich humus ...
 |
| Photo 7: Sieved humus-rich compost |
... and used the remainder ...
 |
| Photo 8: Residue after sieve-lite operation |
... to earth-up the potatoes. [Note: a typical compost sieving procedure would produce between 70-90% of sieved humus-rich material with the residue returned to a maturation bin for additional processing].
In a month or so, I'll be back to earth-up the potatoes again with more compost. Time for a cup of tea, now.


0 comments:
Post a Comment