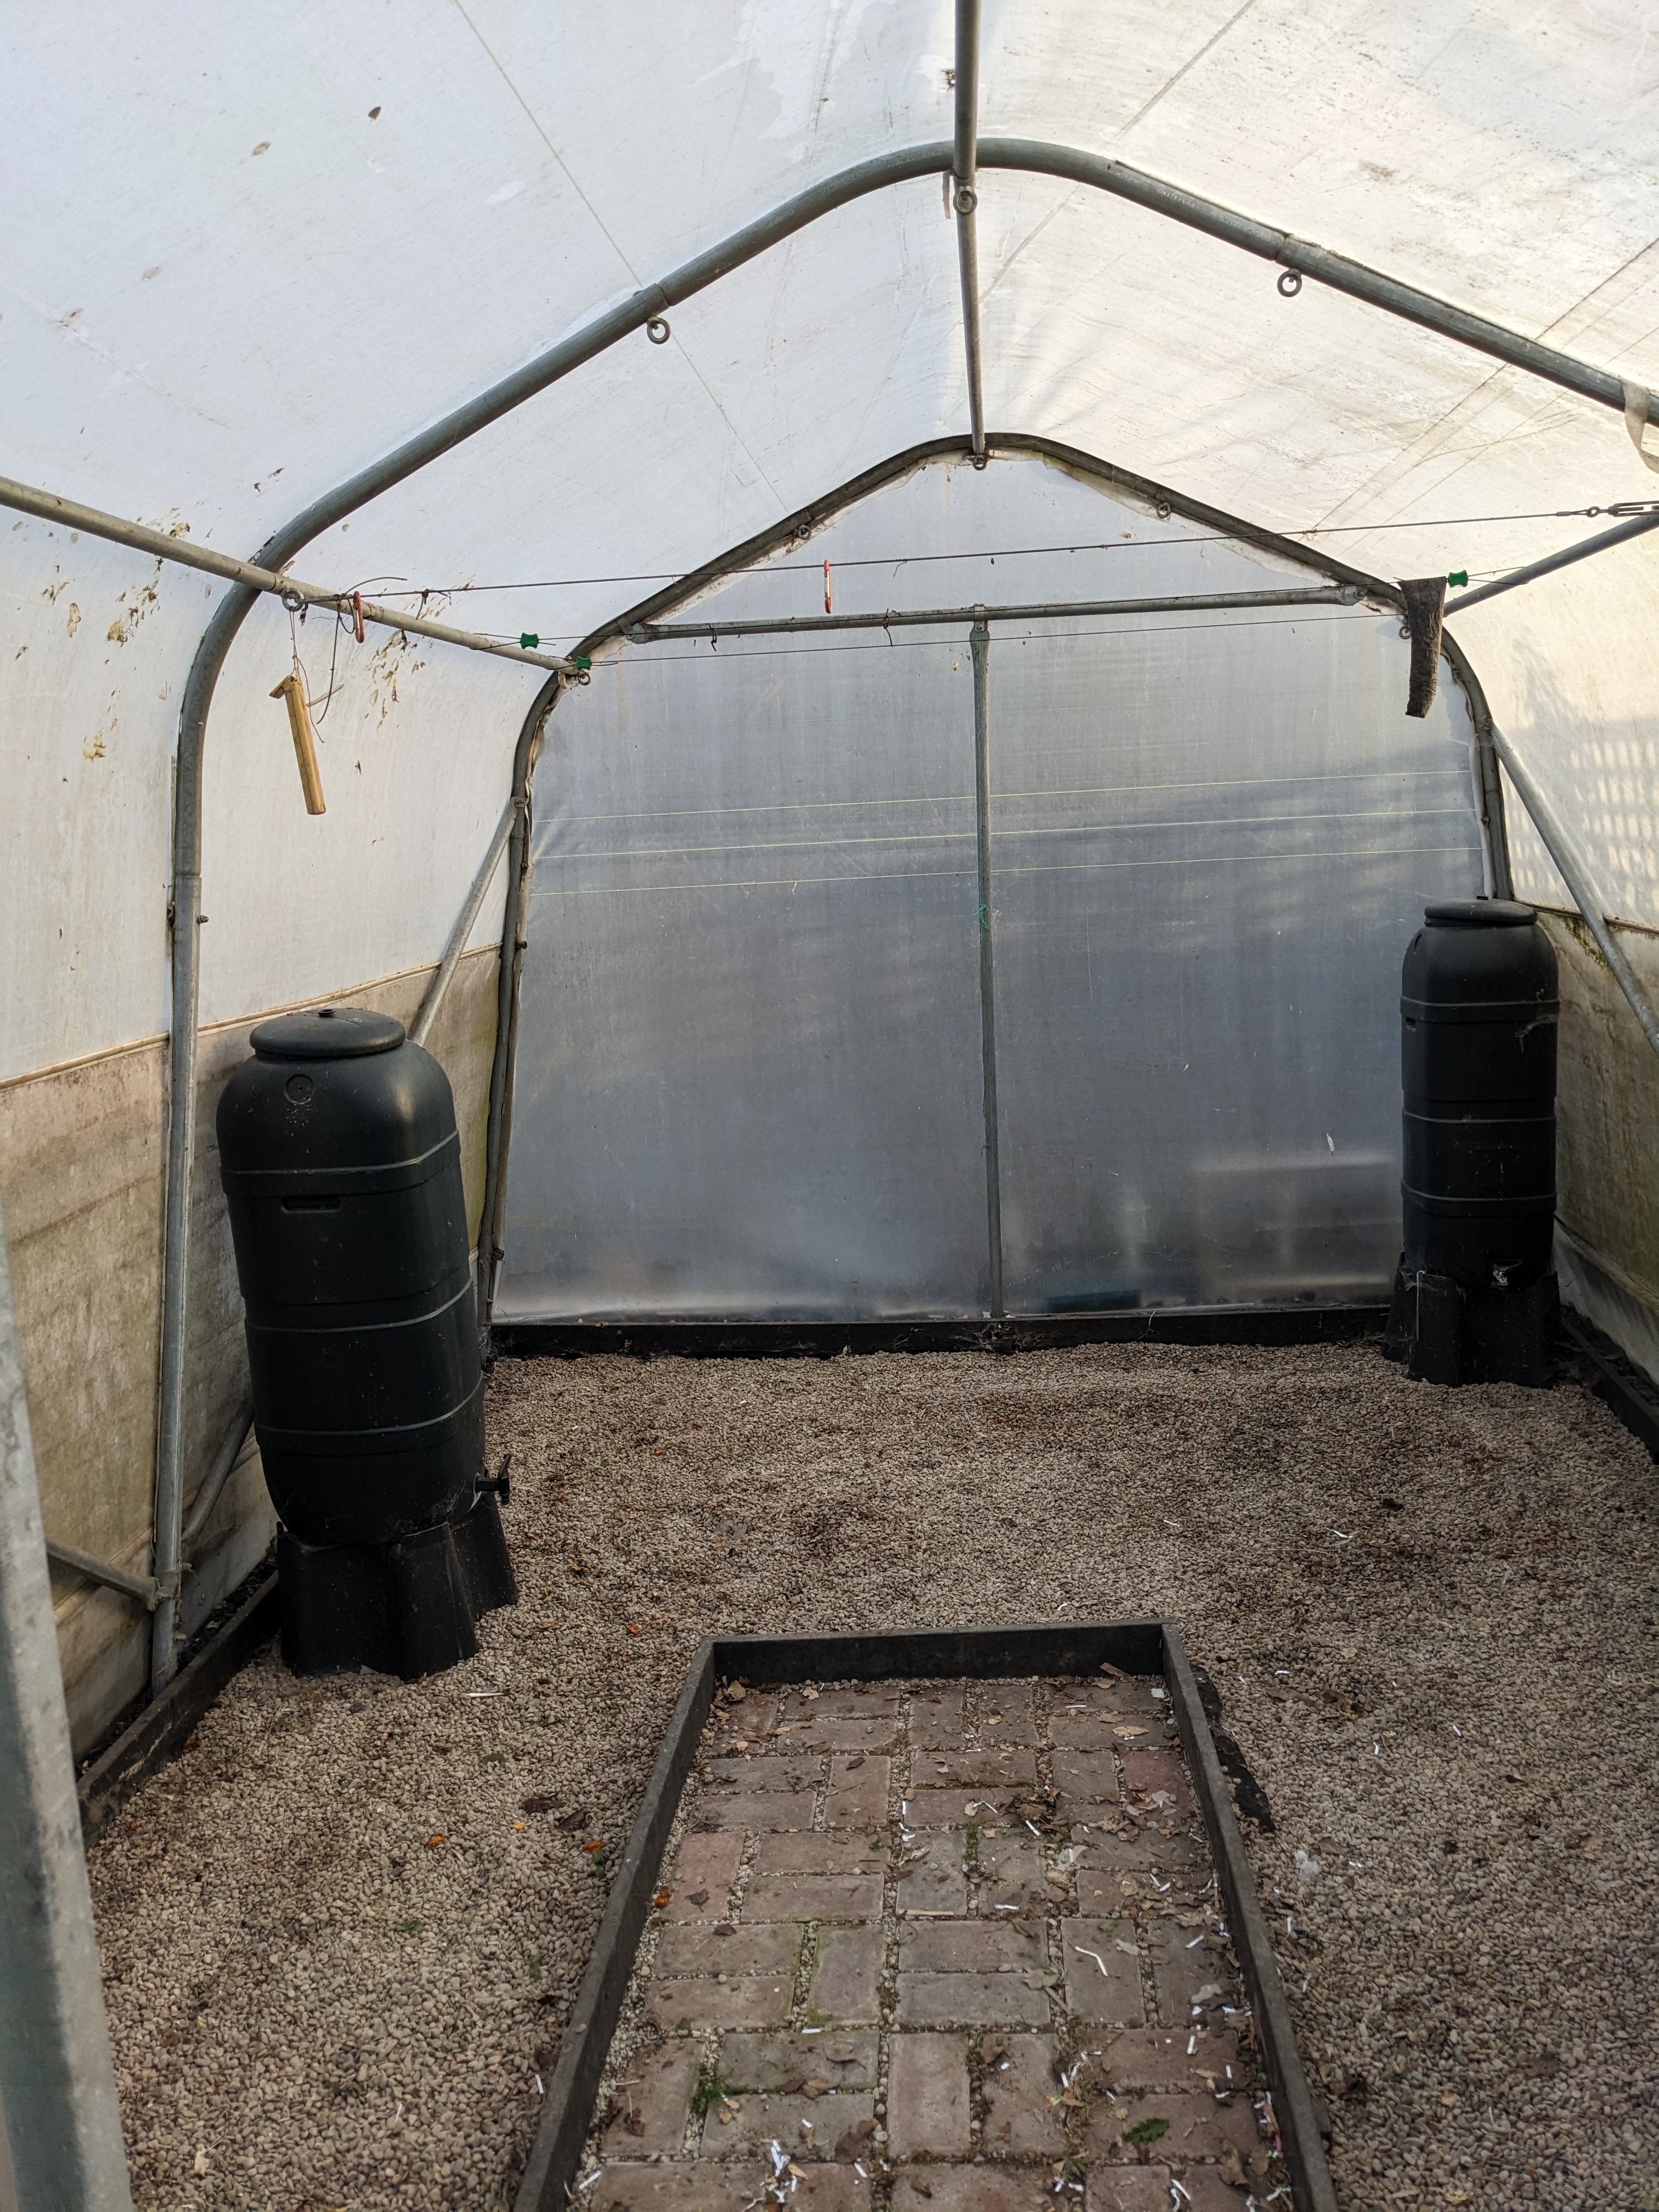
This was the state of the polytunnel on the 14th of March (Photo 1):
Photo 1: Polytunnel (14/3/23)
Essentially a storage/work space! The Quadgrows and Veg/Salad Planters had been emptied, washed, and left to dry. I had some bare-root raspberry plants soaking in one of the Quadgrow reservoirs (left-hand side) ready for planting out. In addition to tidying everything up, I needed to wash down the polythene cover - inside and out - and 'sterilize' the growing space.
About 6 weeks later, I finally got around to doing it. The first job was to empty the polytunnel ready for washing down with a pressure washer ...
... doesn't see a whole lot of action - washing the car (1 or 2 times a year), cleaning the patio/driveway (once every couple of years), and washing down the polytunnel cover inside and out (once every couple of years). But it is very good at what it does and saves a whole lot of time! I feel certain the plants growing in the polytunnel appreciate the improved light levels. Photos 5 & 6 show the improvement.
Photo 5: After pressure wash
Photo 6: After pressure wash
Time to put back everything that needs to go back - I plan to have a less cluttered polytunnel this year!!
Photo 7: Overcrowded Polytunnel (August 2021)
The Quadgrows are the first to return. These will be planted with cucumbers, tomatoes and squash this year. If you have the 'holiday watering kit' option, now is a good time to check that the water level controller (or ballcock) is free of debris and working as it should.
Photo 8: Making sure the Quadgrows are level
If you need to replace this item, just search for 'water float shut off valve' - here is an example I found on Amazon - just remember to check it fits your set-up.
My water level controller had only a small amount of root debris (Photo 9) that did not affect its operation - but was still worth removing. I have seen worse cases, especially during the growing season when the tomato and cucumber roots are extensive!
Photo 9: Root Debris on the Water Level Controller
The valve is easy to disassemble by removing the snap lock pin with a pair of pliers though, normally, this is not necessary for cleaning.
Photo 10: Disassembled Valve
The only other part that needs regular maintenance is the filter (Photo 12) in the reservoir tap (Photo 11). I have two barrel reservoirs (Photo 5) - one with a cone filter (Photo 12) and one with a disc filter (not shown). These can become blocked by solids in the nutrient solution - including precipitates formed from the Nutrigrow A & B mixtures.
Photo 11: Tap Assembly on Water/Nutrient Reservoir
Photo 12: Witches' Hat Filter in Tap Assembly
To clean, remove the filter holder (the lower black section in Photo 11) and flush both ways with running hot water. Generally, I check the Quadgrow reservoirs every other day to ensure the water levels are as expected. If I am going to be away for more than 3 days, I will also check the filter and give it a clean for good measure.
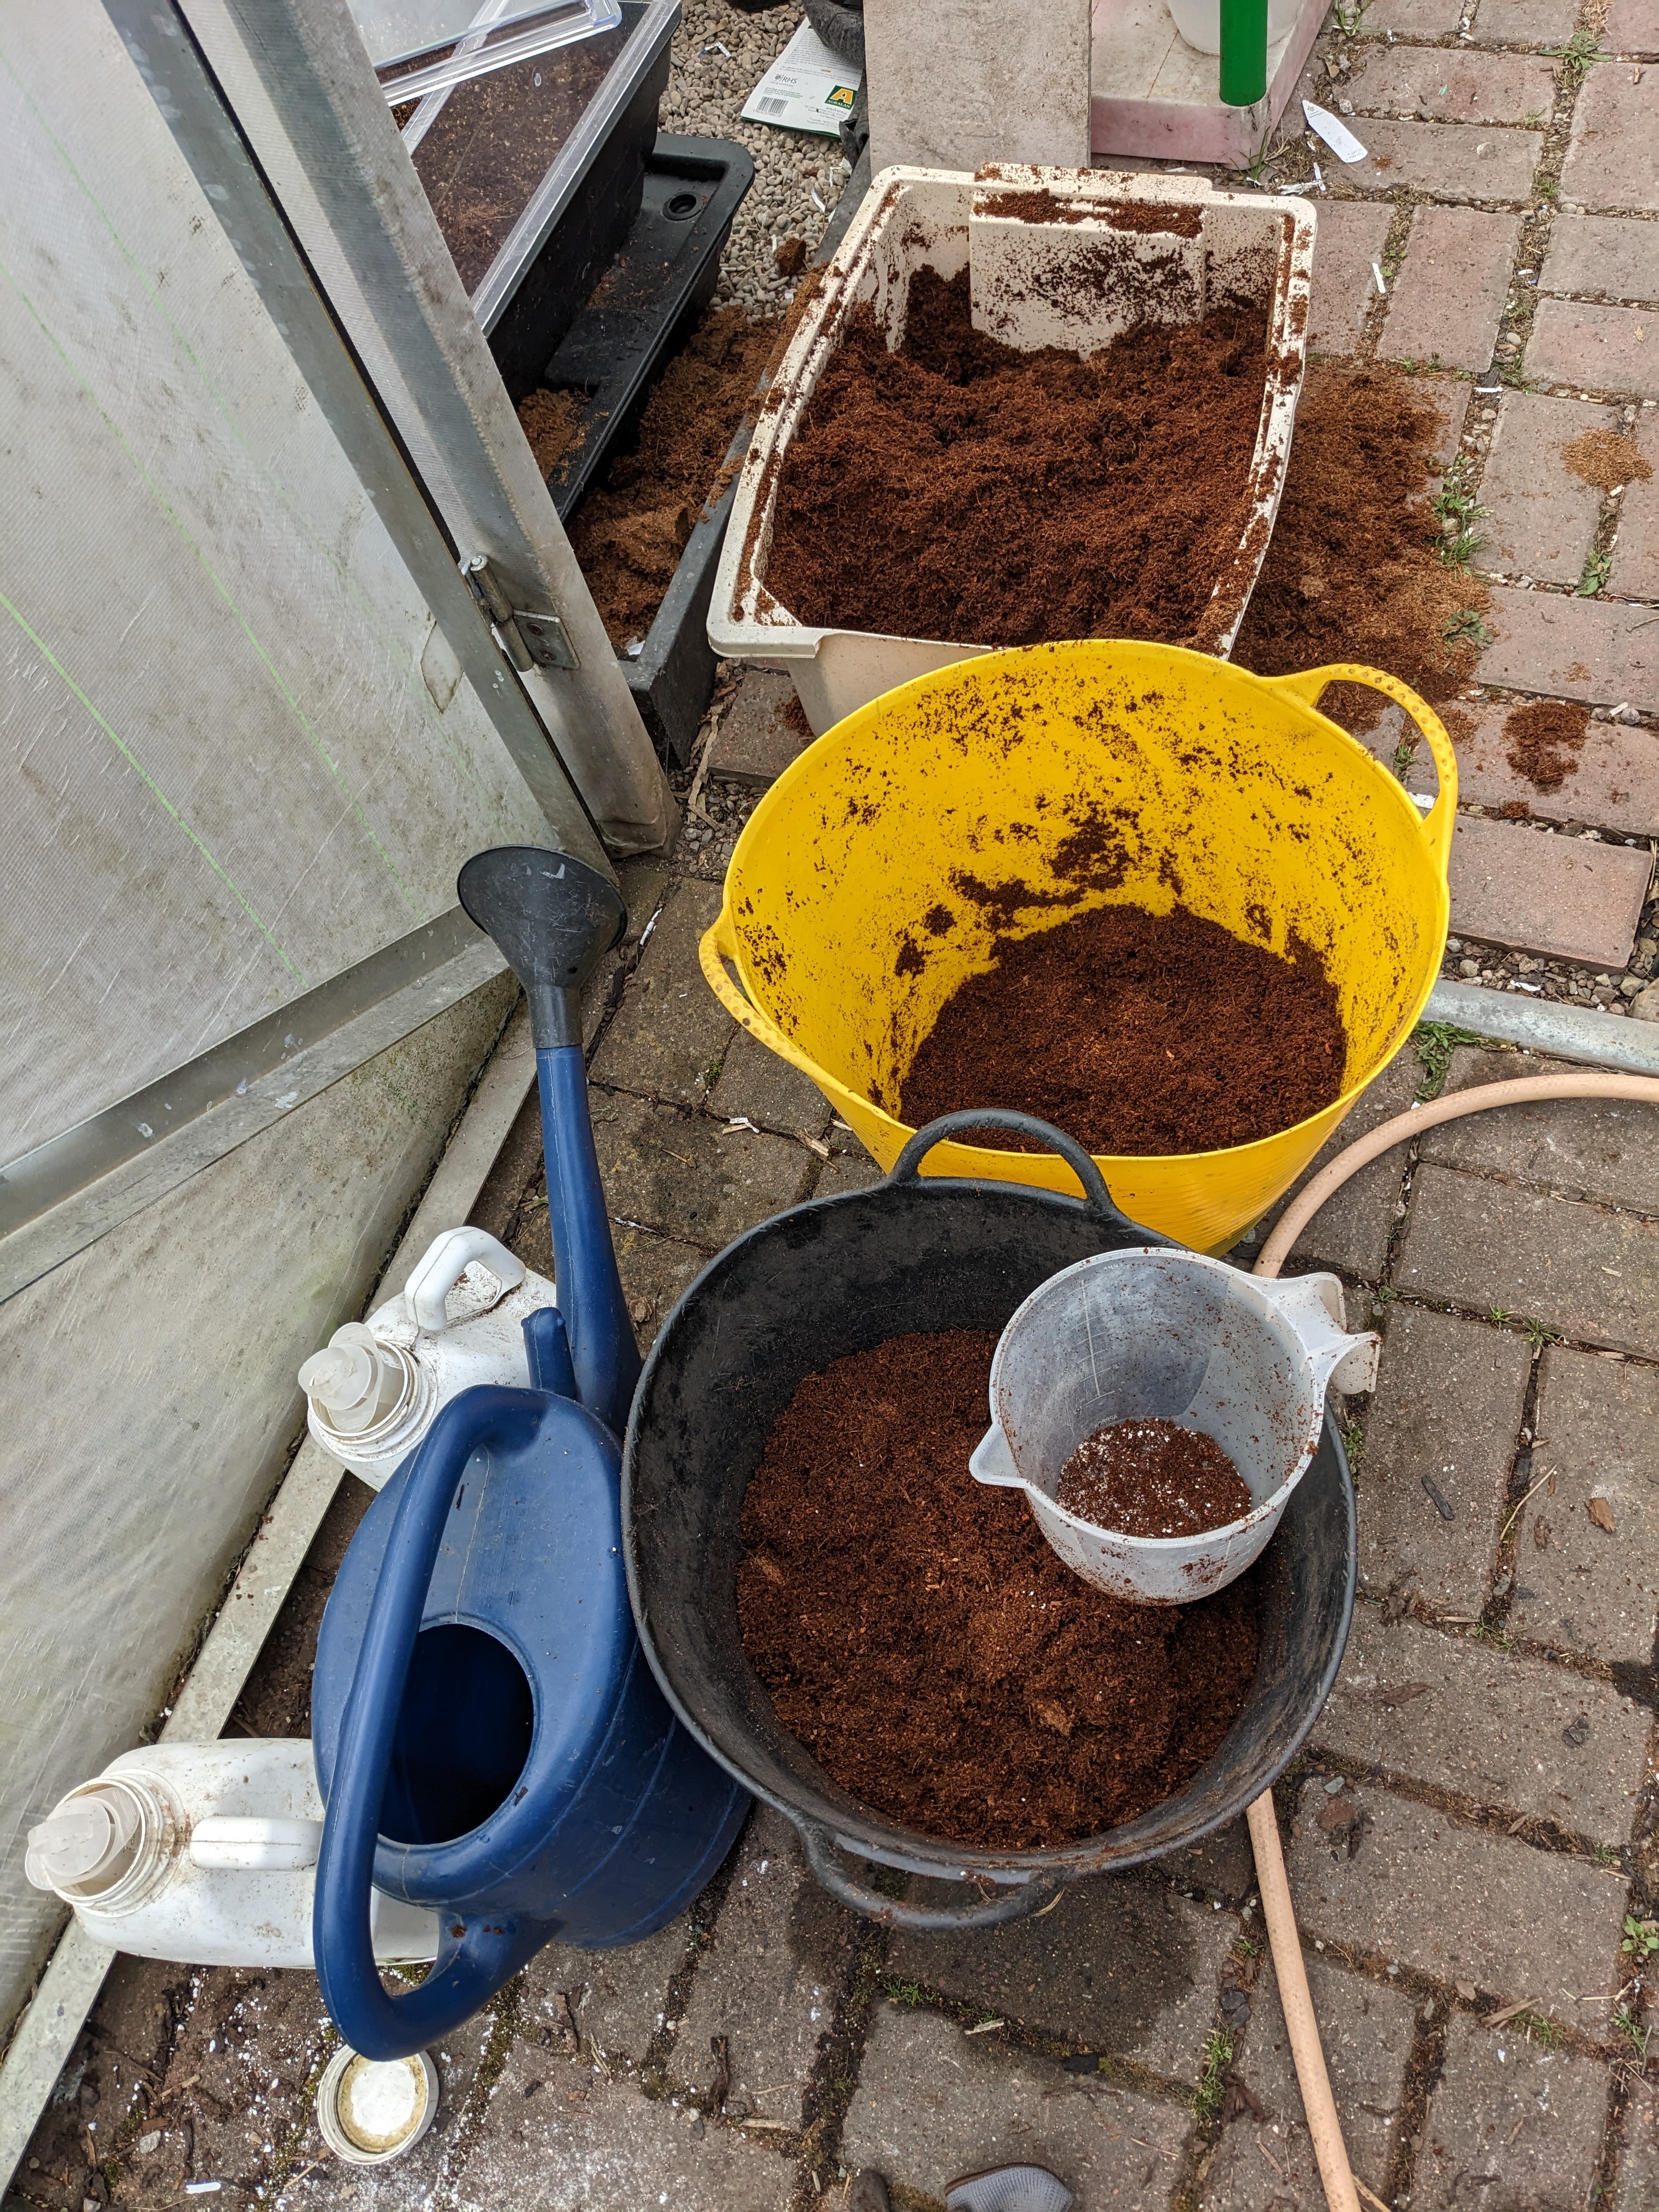
The next job was to prepare the growing medium for the Quadgrow Planters and Veg/salad Planters. Fuller details on how I do it can be found here. Everything you need is shown in Photo 13: large containers/trugs, 2-litre measuring jug, coir block (5 kg), Nutrigrow A & B nutrient stock solutions, water source (hose pipe) and watering can (10-litre).
Photo 13: Preparing Growing Medium for Quadgrow Planters
I made a small change this year - instead of adding 20 litres of tap water to the 5 kg coir block, I used a half-strength solution of Nutrigrow A+B. Using just water is fine but due to the late start to the growing season, I wanted to give the young plants an early boost. To prepare the final growing medium, I add 2 litres of perlite to 8 litres of expanded coir and mix by hand (Video 1)
Video 1: Mixing Coir and Perlite
The Veg/Salad Planters were assembled as per instructions, placed in position, checked for levelness (?) and the capillary matting wicks added.
Photo 14: Salad/Veg Planters ready for filling with the growing medium
The easiest and quickest way to prewet the wicks and fill the bottom reservoir with nutrient solution is to add it before filling with the growing medium (Video 2):
Video 2: Filling the Salad/Veg Planters with Nutrient Solution
There is not much to go wrong with the Salad/Veg Planters. I have lost a few of the stoppers used to plug the reservoir filler hole (Photo 15) ...
Photo 15: Reservoir Filler Hole on Salad/Veg Planter
... but these rubber bungs work well and are more difficult to lose.
So, finally, everything is in its place ready for the plants:
Photo 16: Polytunnel, clean and tidy and ready to go!
This year we did not have any frogspawn in our small garden pond. Mary did find a dead frog in late winter and we weren't sure whether there were any frogs left. Using the water sampler I bought for river testing ...
Photo 1: Water Sampler/Pond Emptier
... Mary carefully emptied the pond one litre at a time ...
Photo 2: Pond emptying completed
We weren't sure whether there was any amphibian life present so were pleasantly surprised when a small frog was found lurking in the sediment at the bottom of the pond (Photo 3)
Photo 3: Resident Amphibian
The pond was refilled with rainwater from our water butts and we made sure he had an escape route should he* wish to leave ...
Photo 4: Checking the coast is clear
* Mary thought it was a 'he' due to his/her diminutive size
Photo 5: Deciding to stay awhile
And why would you want to leave such an idyllic garden? Can you spot the flying blackbird?
The growing season is off to a slow start this year. It is May 20th and, already, we seem to be several weeks behind where I would expect to be. This is a picture (Photo 1) of our comfrey plant taken today (20th) ...
Photo 1: Comfrey (20th May 2023)
... and this is a photo (Photo 2) of the same plant taken three years ago on a slightly earlier date (16th May 2020) ...
Photo 2: Comfrey (16th May 2020)
... when the comfrey was flowering and one to two feet taller; in fact, enough growth to prepare my first batch of comfrey tea.
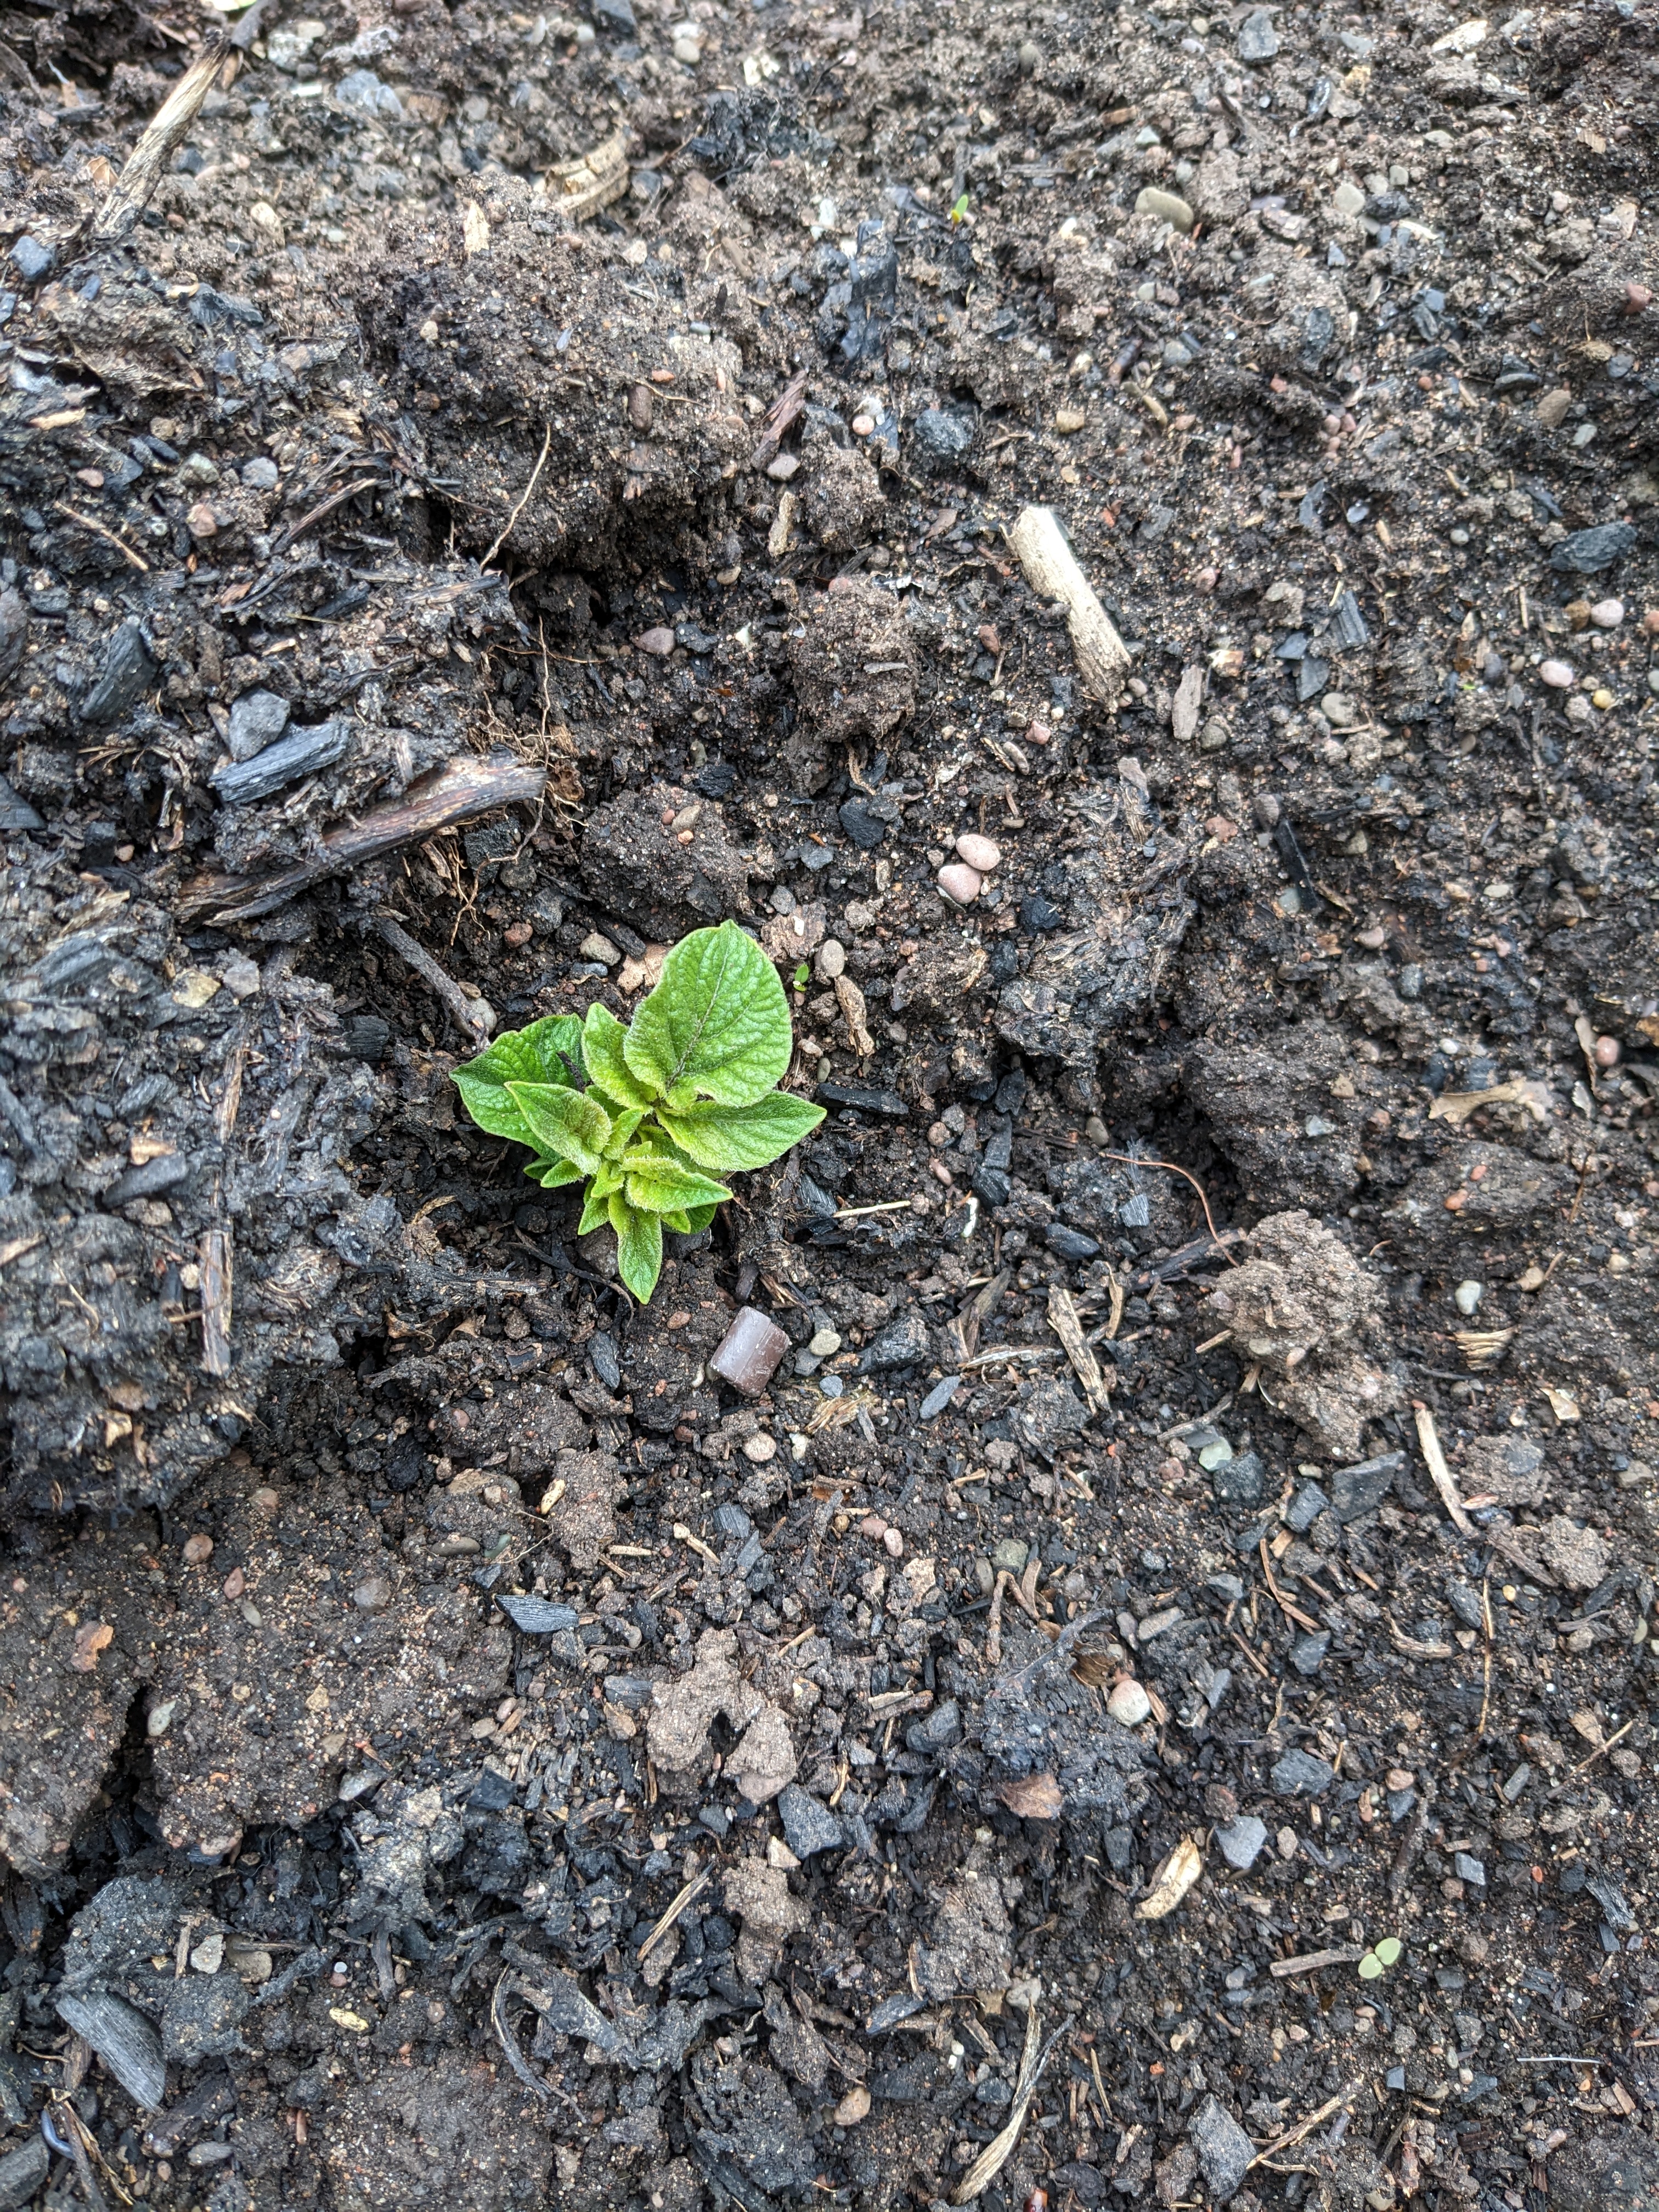
I am still awaiting some sign of life from the beetroot, carrots and parsnips I sowed directly in the ground on the 8th April - to be fair there is one beetroot plant that has dared to show its head. The weather has been dry but I've watered the seeds regularly using rainwater from our water butts. I have now resorted to using one of my Greenhouse Sensation Veg/Salad Planters as a seedbed (Photos 3 & 4):
Photo 3: Veg/Salad Planter Seedbed
Photo 4: Seedbed with Lid
The semi-automatic watering system of the Veg/Salad Planter should provide the right amount of water for the seeds to germinate and thrive. The mini-greenhouse will help provide extra warmth - the lid is removed during the day and replaced overnight.
I'm still waiting for my sweetcorn to germinate - in previous years I've planted out the young plants in mid to late May! The asparagus season started more or less on time.
I've spoken to a few gardeners and they also report slow germination and growth this year. Whether it is chilly nights, lack of rain or a bit of both, I'm not sure. Maybe this year's seed is a little old. Maybe I have just been unlucky. In any case, it's fine to start a little late - let's hope the growing season extends well into autumn.
At last year's Malvern Autumn Show (2022), I bought 10 Antoinette™ tulip bulbs for Mary who was, unfortunately, stuck at home with a bad cold/laryngitis/pneumonia/Covid-19*. They were advertised as a late-flowering multi-headed chameleon tulip changing colour from green-yellow to salmon pink.
"It is a mistake to think you can solve any major problems just with potatoes"- Douglas Adams
"What I say is that, if a person really likes potatoes, they must be a pretty decent sort of person" - A. A. Milne (amended)
This year's seed potatoes were planted outside on 31st March after a six-week chitting period. At, or around, the 23rd of April the first green shoots appeared above ground.
Photo 1: First Foliage (23/4/23)
Since frost was predicted over the next few days, these early shoots were covered with a layer of compost. Early on the 25th April, we did indeed experience subzero temperatures, between -1 ℃ and 0 ℃, so frost damage would have been minimal anyway.
By 11th May, there was plenty of visible growth (Photo 2) and it was time to earth-up the soil around the potato shoots. The benefits of earthing-up are (i) frost protection, (ii) increased yield (more space for tubers to develop), and (iii) reduced light exposure to the near-surface tubers to prevent them from turning green. Typically, this would be done by drawing soil from the valleys to the ridges using a hoe or rake.
Photo 2: More green shoots (11th May)
However, because I grow my potato rows close together in a raised bed, I prefer to build up the ridges using homemade garden compost (Photo 3) which has the added benefits of nutrient feeding and mulching:
Photo 3: Ridge building with compost
More compost will be added to the ridges during the growing season. A similar process is used for the two potato grow bags, except the addition of coir*/compost is more often and more regular - every time new shoots appear above the surface, they are covered up with 1:1 coir*/compost until the bag is full (Photo 4).
*recovered from last year's Quadgrows and Salad/Veg Planters.
Photo 4: Full potato grow bags
This sudden burst of activity was brought on by the need to clear one of my four compost maturation bins (Photo 5). My composting process comprises an initial 'hot composting' period, to kill pathogens and weeds, followed by a slower maturation period of 6 months or more to allow the worms and other micro-organisms to do their 'business' - literally, in the case of the worms!
Photo 5: Compost Maturation Bins
I had compost from Stage 1 (hot composting) ready to move onto Stage 2 (maturation) so that I could make space in the hot composters for the recent influx of garden waste. It was the turn of MATBIN3 (third from the left or second from the right, Photo 5) to be emptied after approximately one year's maturation.
Photo 6: MATBIN3 part-emptied
The finished compost in MATBIN3 (Photo 6) was both sticky (i.e. lots of woody bits) and sticky (i.e. lots of moist black humus). This material can be used as seen to add nutrients, carbon and beneficial micro-organisms to the soil - either dug in or as a mulch. However, I also needed some sieved compost for potting-on new plants, filling up the potato grow bags, top-dressing existing pots, and surface-dressing ornamental beds (where the sticks are a little unsightly). So I decided on a sieve-lite approach whereby I filtered out about 40% of the rich humus ...
Photo 7: Sieved humus-rich compost
... and used the remainder ...
Photo 8: Residue after sieve-lite operation
... to earth-up the potatoes. [Note: a typical compost sieving procedure would produce between 70-90% of sieved humus-rich material with the residue returned to a maturation bin for additional processing].
In a month or so, I'll be back to earth-up the potatoes again with more compost. Time for a cup of tea, now.
We've been away for a few days on the Isle of Wight (IOW) visiting relations and doing a bit of sightseeing. It takes 3-4 hours to drive down to the ferry at Lymington for the short sea trip (40 minutes) across to Yarmouth on the IOW. We were always told the Solent ferry crossings were the most expensive in the world on a £/km basis - probably an urban myth but costly enough that we left our car at Lymington and travelled on the ferry with our son & fiancee in their car.
To avoid any anxieties about getting to the ferry port on time, we decided to drive down a day early and stay near the ferry port in Lyndhurst. Mary chose the hotel (Penny Farthing) - the room was on the small side but reasonably cheap (£45 pppn) and an excellent breakfast was included. We were 'upgraded' from a small double - I was curious to know how much smaller they could go! We had dinner at the Passage to India across the road - highly recommended.
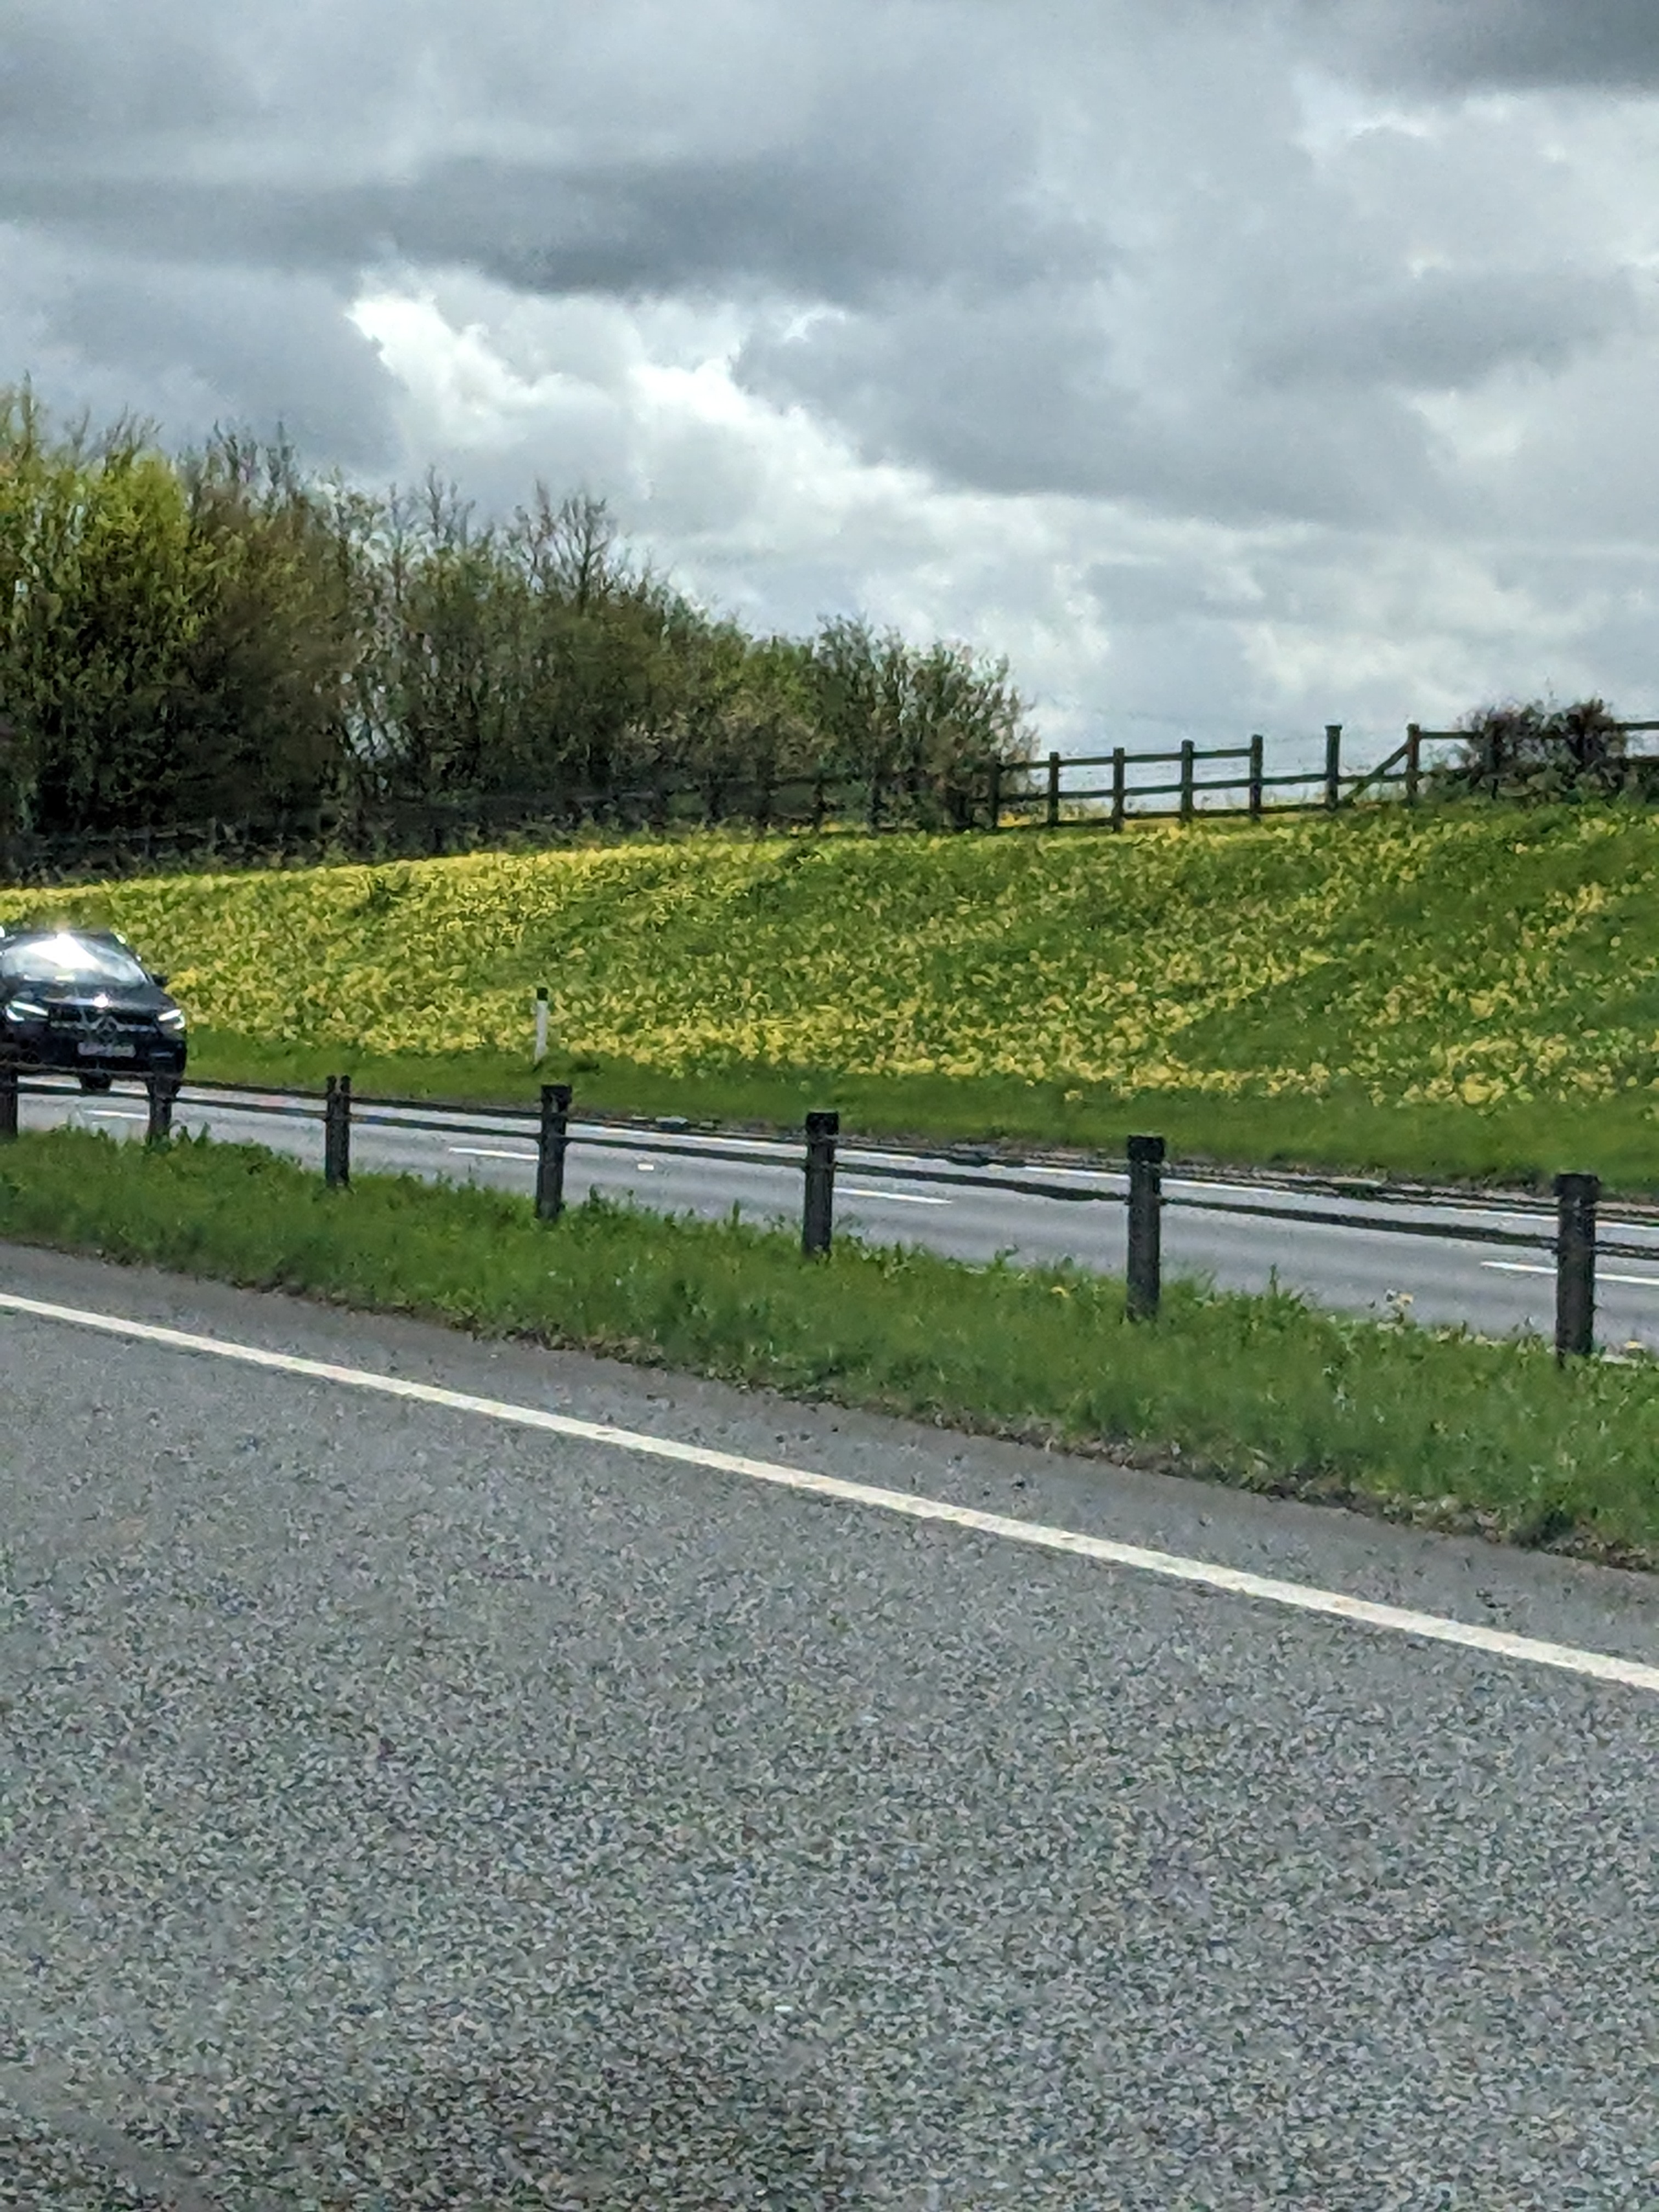
Having made the journey from Hereford to the IOW many times, there are a couple of highlights we look forward to. Firstly, when travelling in May, we get the opportunity to enjoy the carpets of cowslips along the A417 between Birdlip and Cirencester.
Photo 1: Cowslips along the A417 (5/5/23)
The second highlight is a lunch stop in Pewsey! Free car park, clean & free toilets, and Marshalls Bakery across the road - where you may purchase savoury pies and delicious cakes at very reasonable prices.
The day we travelled (5/5/23) was sunny and warm so we could enjoy an early evening stroll along the Tall Trees Trail in the Blackwater Arboretum near Lyndhurst. Giant sequoias and chaffinches, what's not to like!
Photo 2: Chaffinch in Blackwater Arboretum (5/5/23)
Not too much sightseeing on the IOW as we were visiting the relations. Two of our party wanted some seaside action, so we made the trip to Sandown Pier. We were shocked at how rundown parts of the Sandown seafront were. The amusement arcades on Sandown Pier held an old-fashioned fascination for our son and his fiancee - £5 in change kept them busy for 45 minutes but, in the end, the money ran out! Following a pleasant lunch at The Bandstand, it was off to Shanklin for a brisk and breezy walk along the seafront. Shanklin lacks a pier but appeared to be in ruder health than Sandown. To finish off the day we dropped in on Arreton Barns, an arts & craft centre, with its many interesting shops and attractions - the church is worth a visit.
We attended the village Coronation Picnic on the Sunday (5th) to enjoy some jazz, tea, cakes and the inevitable raffle! Luckily, the weather was fine and warm. Later in the day we took the resident dog (Photo 4) ...
Photo 4: Resident Jack Russell
for a walk in Mill Copse to see bluebells and orchids ...
Photo 5: Bluebells in Mill Copse
Photo 6: Early Purple Orchid in Mill Copse
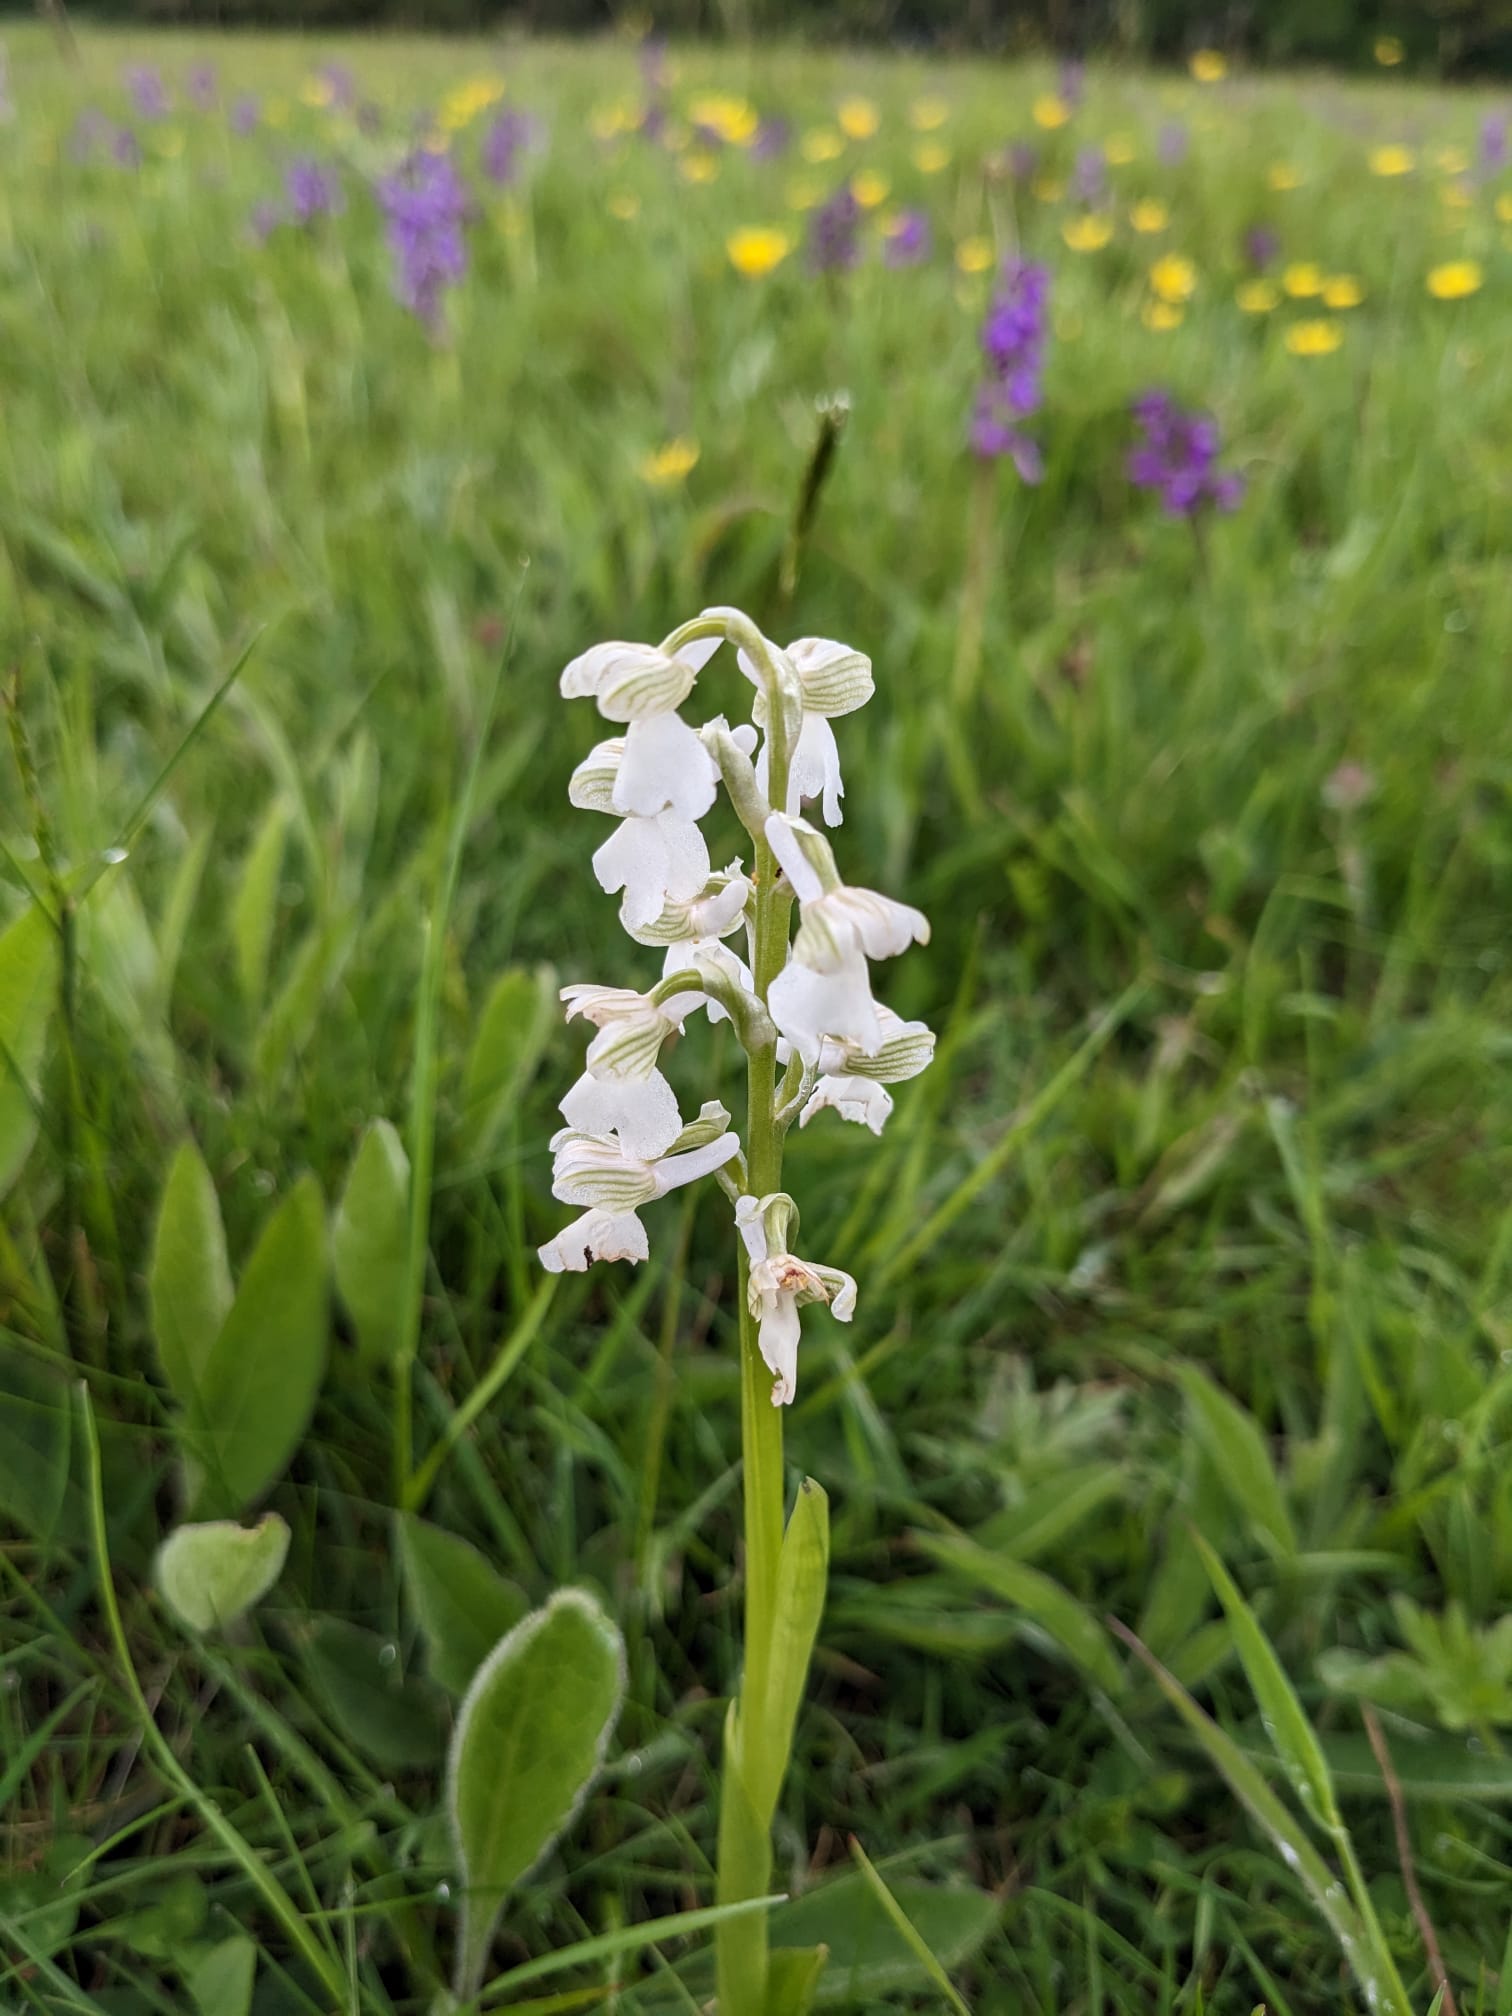
On the morning we departed for the mainland, we had a quick trip to the Newtown National Nature Reserve. Not a lot of birdwatching action but a meadow with plenty of green-winged orchid specimens (aka green-veined orchids). Colours vary from purple through pink to white; purple (Photo 7) and white (Photo 8) examples were present at this location. The green veins are most easily seen in the white form (Photo 8). Orchids can be a bit tricky to identify at times but the local National Trust staff confirmed the ID for us.
Photo 8: Green-winged Orchid - white (IOW, 9/5/23)
A fairly uneventful trip back to Hereford with a stop for afternoon tea in Tidworth at the Chef's Delight Cafe. We arrived just as they were clearing up ready to close for the day which might explain why the cheese on toast was served on white bread when we had asked for brown. Nice cakes though (Photo 9).
Photo 9: Cake Masterpieces at the Chef's Delight
One final look at the A417 cowslips in the rain ...


.JPG)