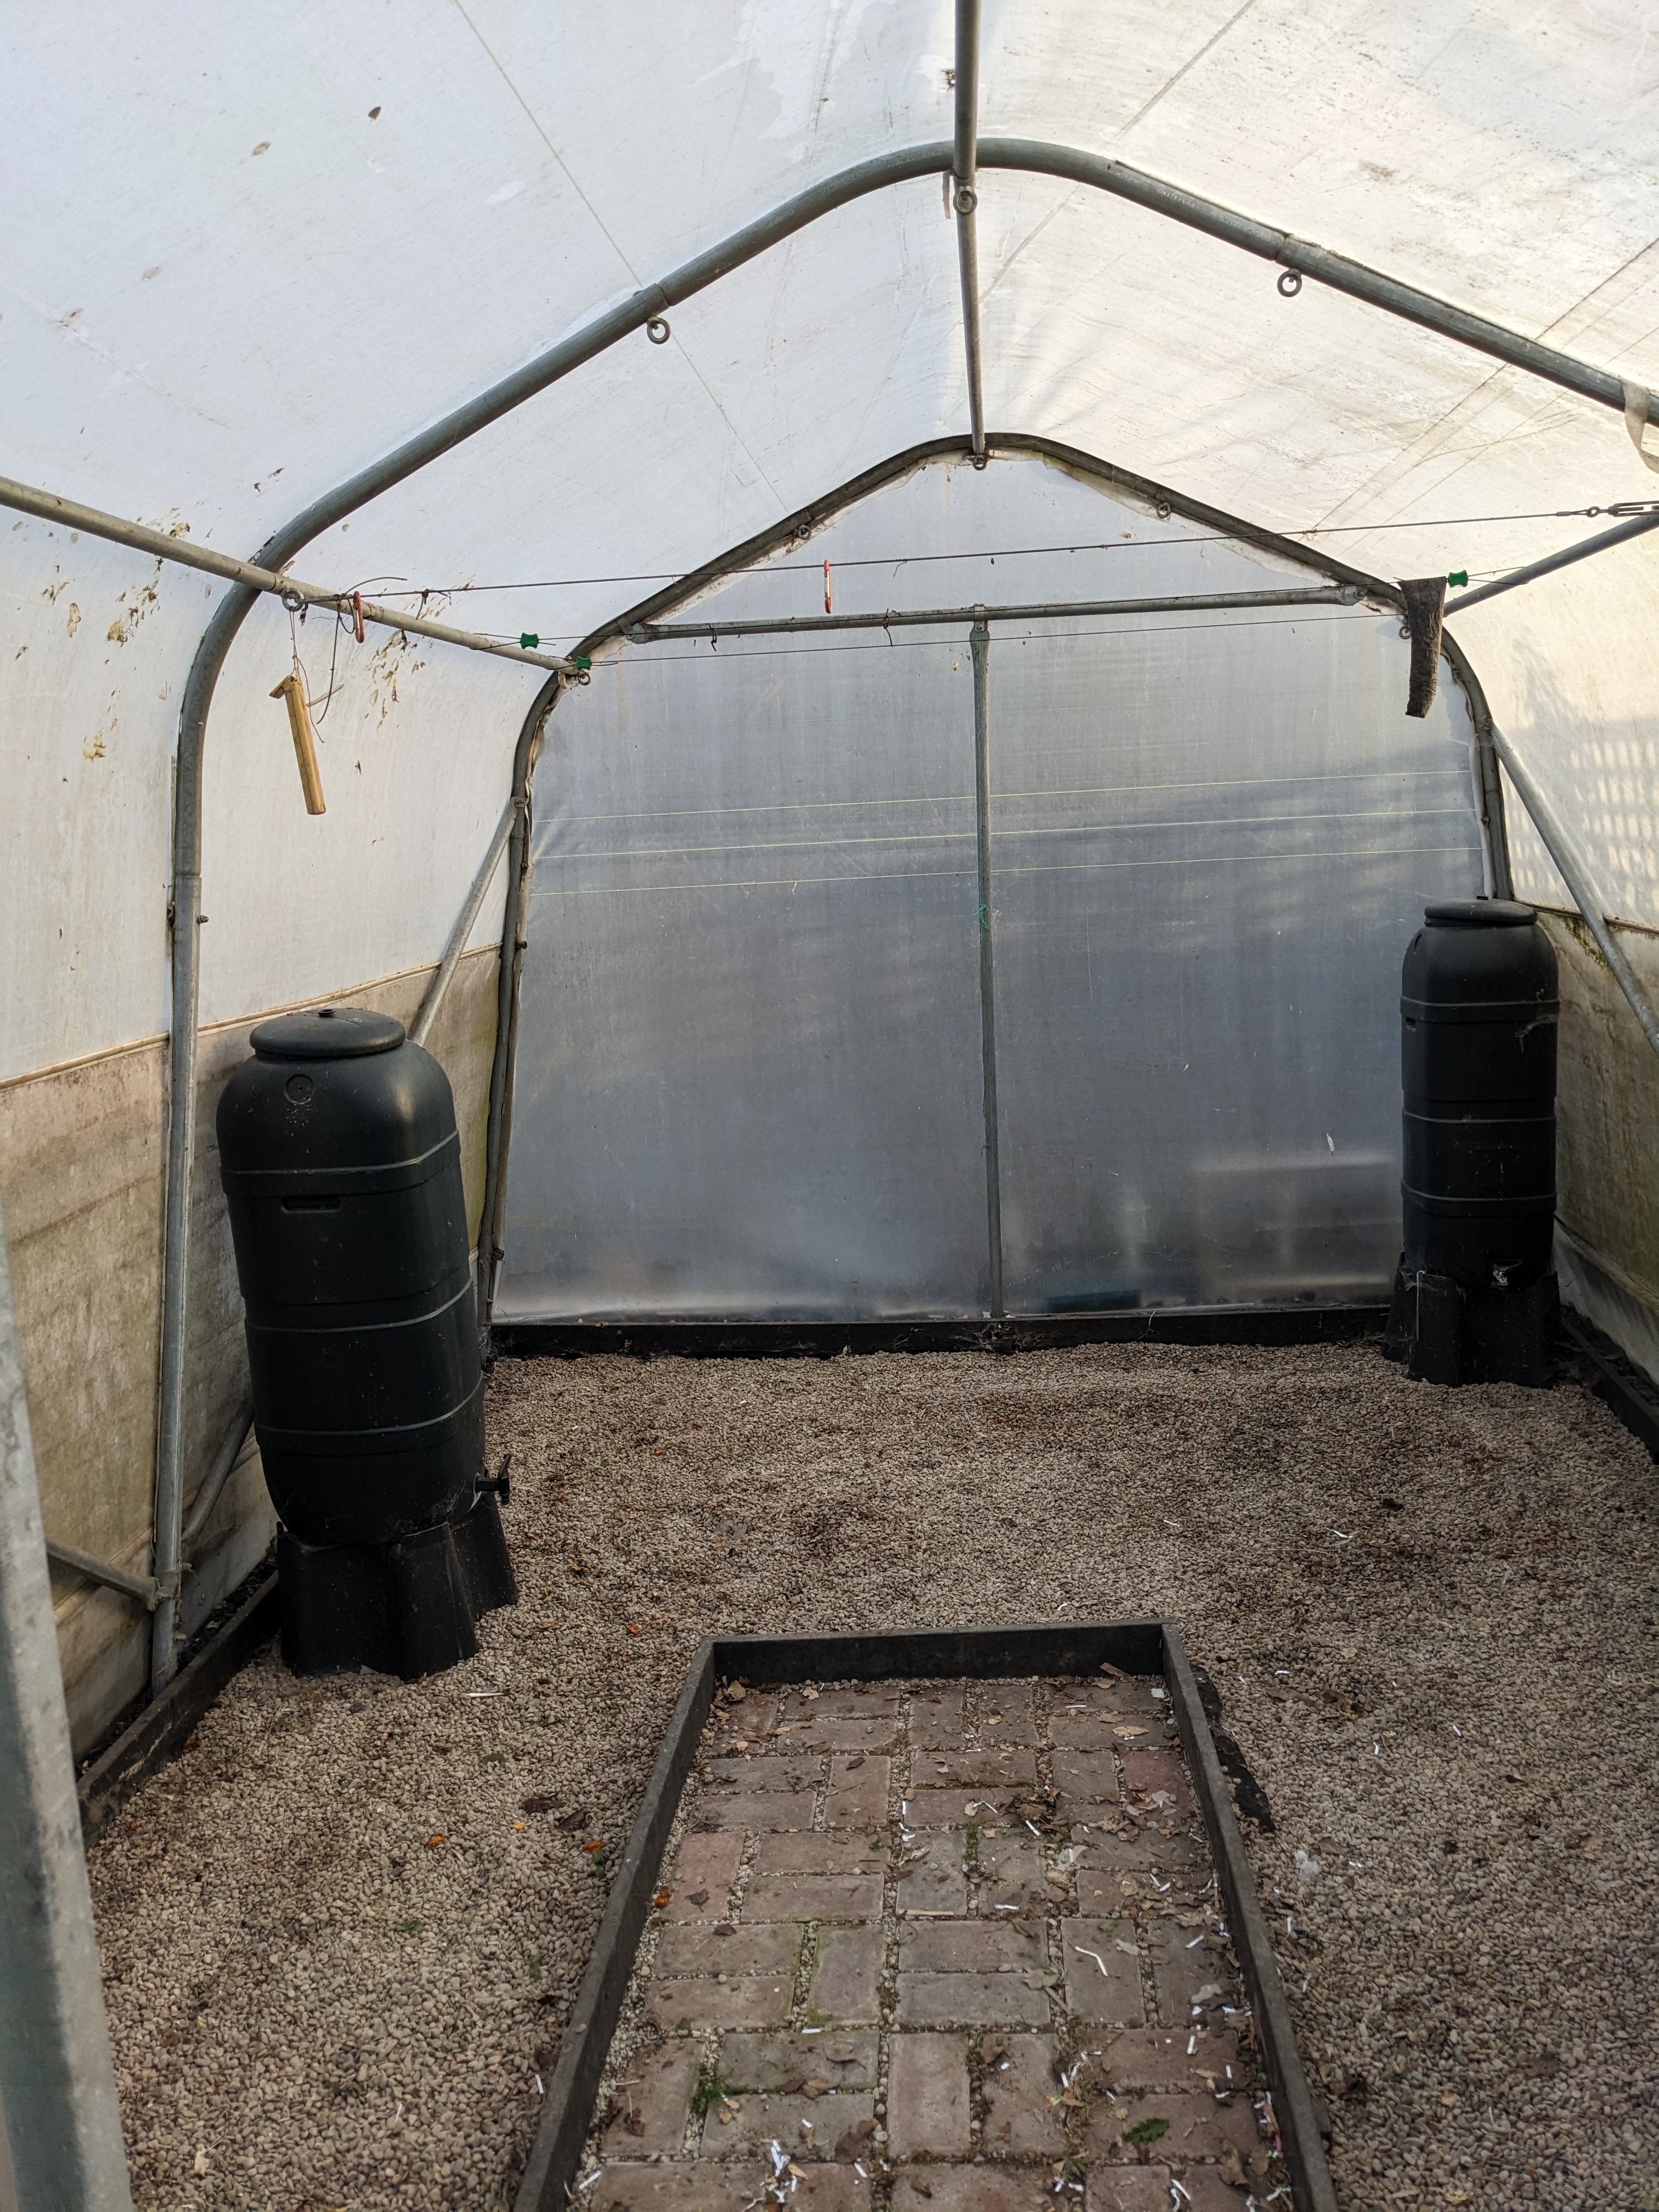
This was the state of the polytunnel on the 14th of March (Photo 1):
Photo 1: Polytunnel (14/3/23)
Essentially a storage/work space! The Quadgrows and Veg/Salad Planters had been emptied, washed, and left to dry. I had some bare-root raspberry plants soaking in one of the Quadgrow reservoirs (left-hand side) ready for planting out. In addition to tidying everything up, I needed to wash down the polythene cover - inside and out - and 'sterilize' the growing space.
About 6 weeks later, I finally got around to doing it. The first job was to empty the polytunnel ready for washing down with a pressure washer ...
... doesn't see a whole lot of action - washing the car (1 or 2 times a year), cleaning the patio/driveway (once every couple of years), and washing down the polytunnel cover inside and out (once every couple of years). But it is very good at what it does and saves a whole lot of time! I feel certain the plants growing in the polytunnel appreciate the improved light levels. Photos 5 & 6 show the improvement.
Photo 5: After pressure wash
Photo 6: After pressure wash
Time to put back everything that needs to go back - I plan to have a less cluttered polytunnel this year!!
Photo 7: Overcrowded Polytunnel (August 2021)
The Quadgrows are the first to return. These will be planted with cucumbers, tomatoes and squash this year. If you have the 'holiday watering kit' option, now is a good time to check that the water level controller (or ballcock) is free of debris and working as it should.
Photo 8: Making sure the Quadgrows are level
If you need to replace this item, just search for 'water float shut off valve' - here is an example I found on Amazon - just remember to check it fits your set-up.
My water level controller had only a small amount of root debris (Photo 9) that did not affect its operation - but was still worth removing. I have seen worse cases, especially during the growing season when the tomato and cucumber roots are extensive!
Photo 9: Root Debris on the Water Level Controller
The valve is easy to disassemble by removing the snap lock pin with a pair of pliers though, normally, this is not necessary for cleaning.
Photo 10: Disassembled Valve
The only other part that needs regular maintenance is the filter (Photo 12) in the reservoir tap (Photo 11). I have two barrel reservoirs (Photo 5) - one with a cone filter (Photo 12) and one with a disc filter (not shown). These can become blocked by solids in the nutrient solution - including precipitates formed from the Nutrigrow A & B mixtures.
Photo 11: Tap Assembly on Water/Nutrient Reservoir
Photo 12: Witches' Hat Filter in Tap Assembly
To clean, remove the filter holder (the lower black section in Photo 11) and flush both ways with running hot water. Generally, I check the Quadgrow reservoirs every other day to ensure the water levels are as expected. If I am going to be away for more than 3 days, I will also check the filter and give it a clean for good measure.
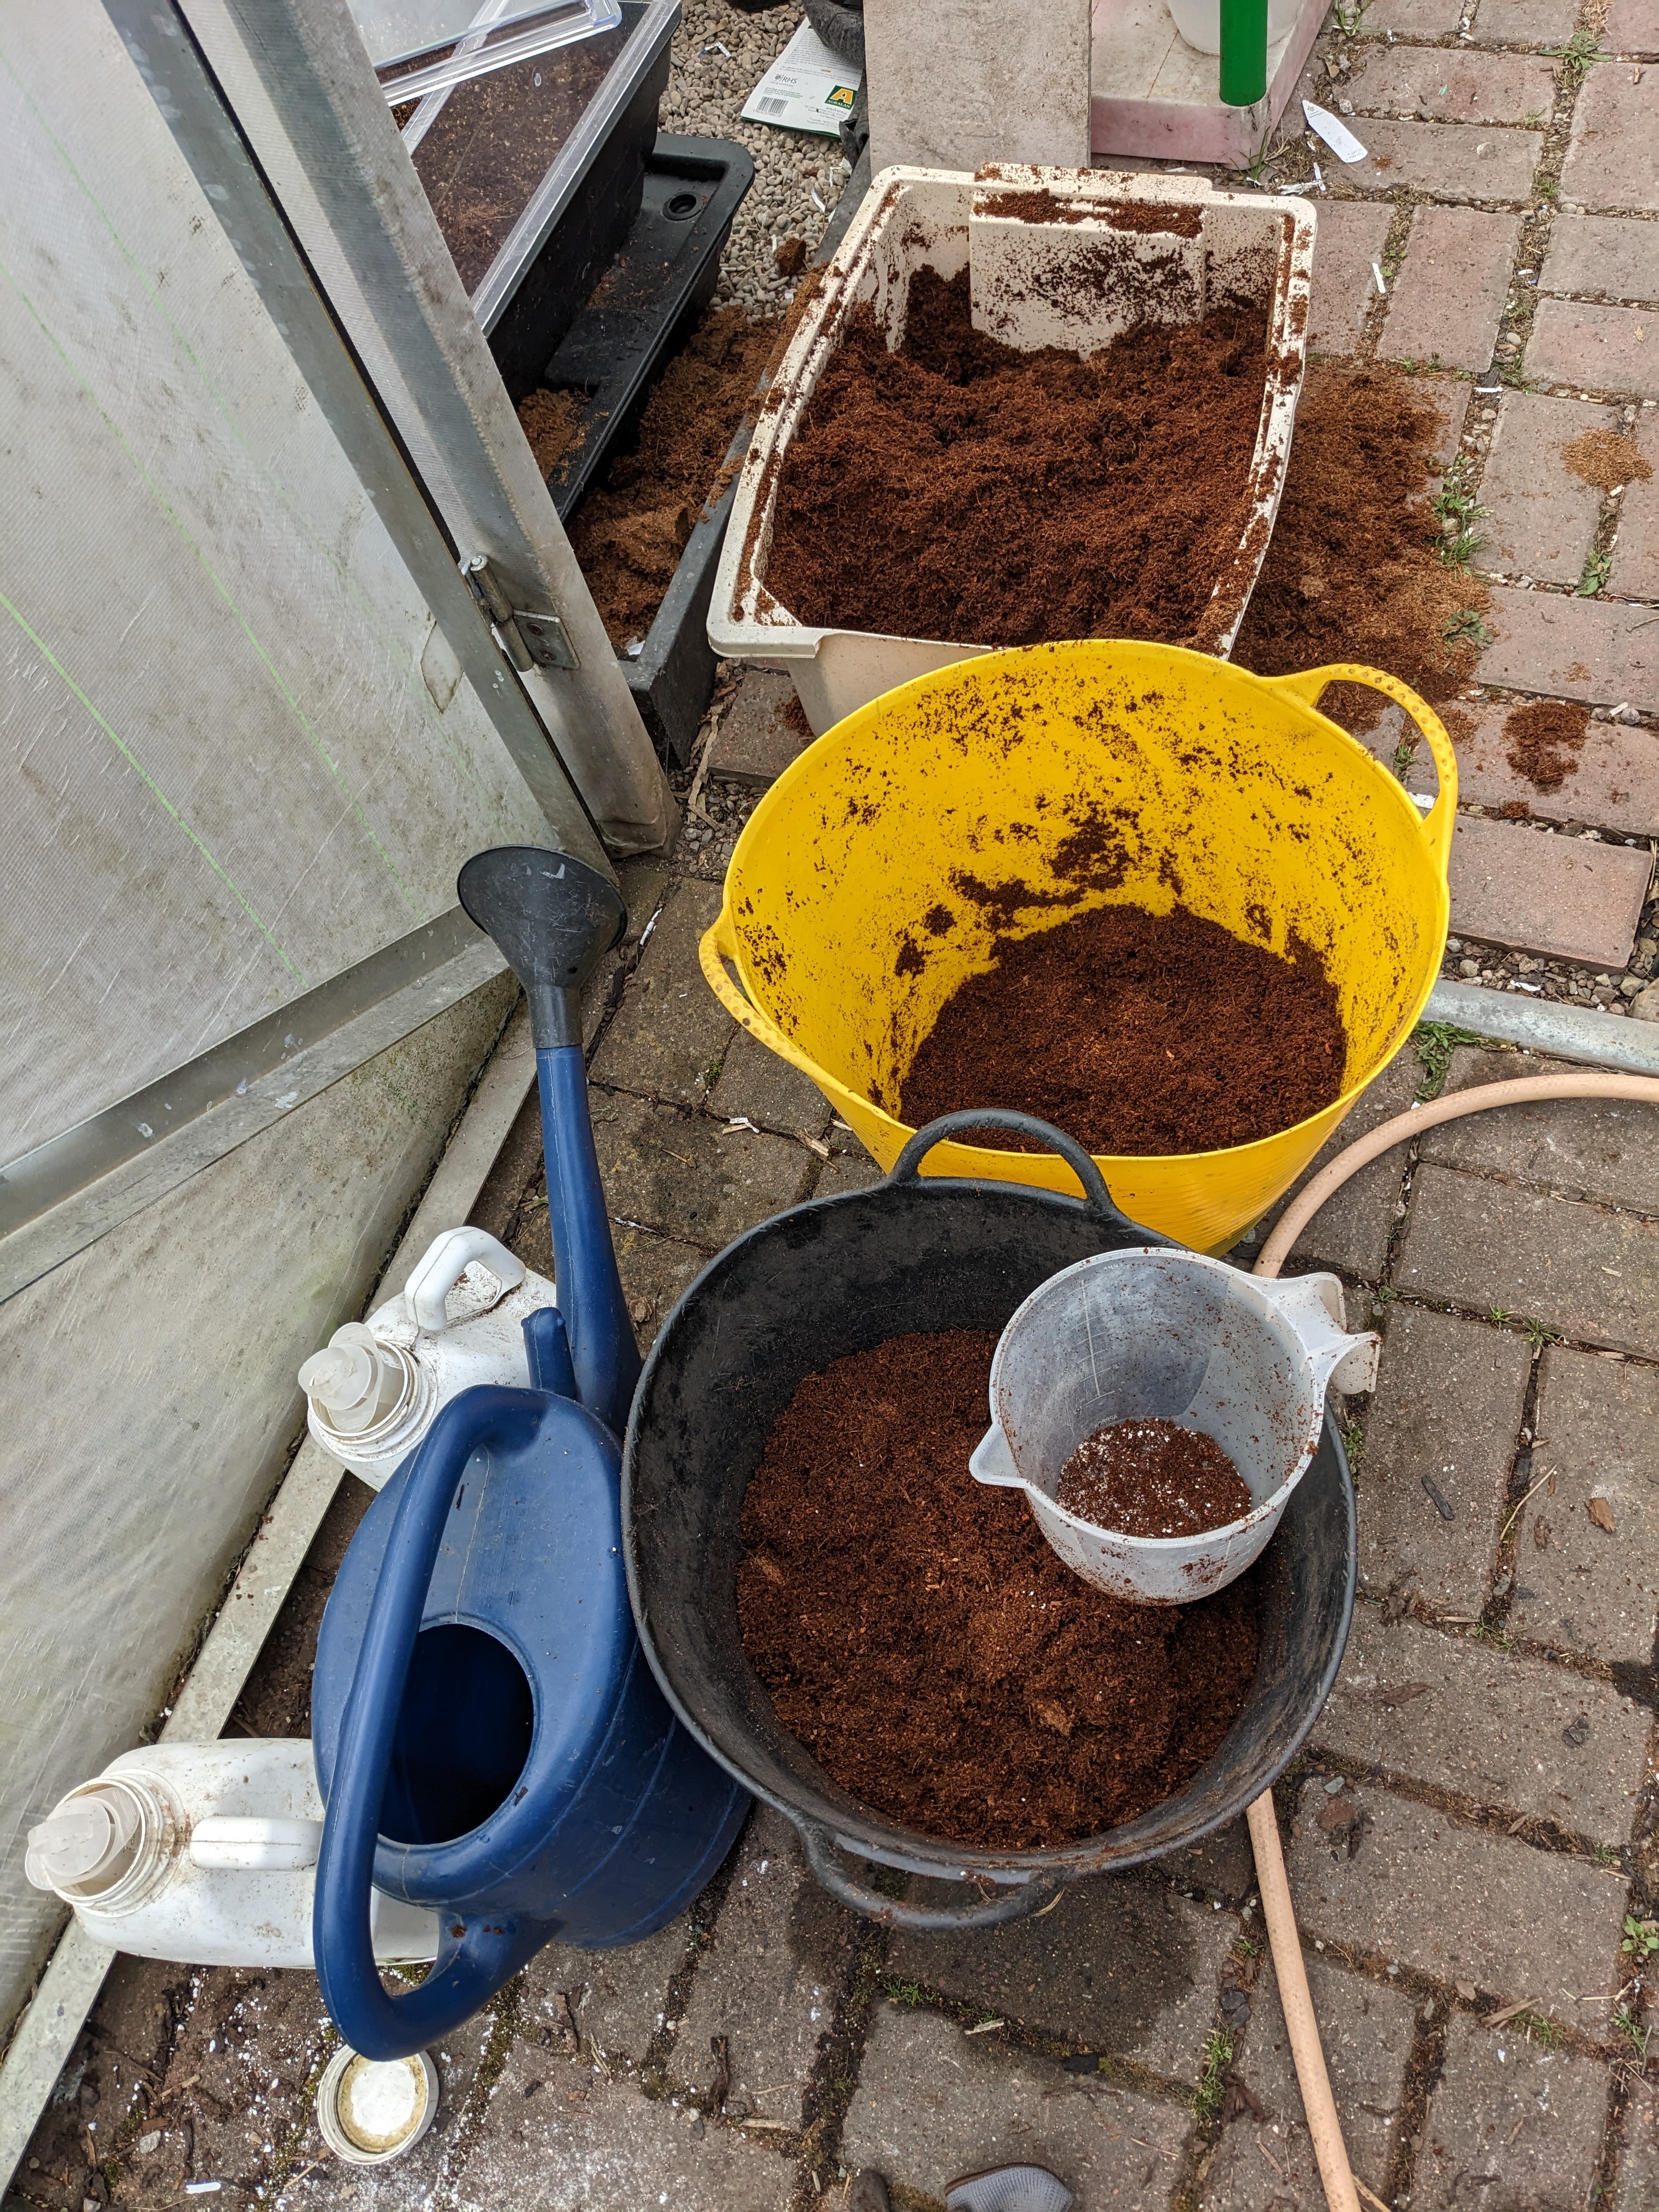
The next job was to prepare the growing medium for the Quadgrow Planters and Veg/salad Planters. Fuller details on how I do it can be found here. Everything you need is shown in Photo 13: large containers/trugs, 2-litre measuring jug, coir block (5 kg), Nutrigrow A & B nutrient stock solutions, water source (hose pipe) and watering can (10-litre).
Photo 13: Preparing Growing Medium for Quadgrow Planters
I made a small change this year - instead of adding 20 litres of tap water to the 5 kg coir block, I used a half-strength solution of Nutrigrow A+B. Using just water is fine but due to the late start to the growing season, I wanted to give the young plants an early boost. To prepare the final growing medium, I add 2 litres of perlite to 8 litres of expanded coir and mix by hand (Video 1)
Video 1: Mixing Coir and Perlite
The Veg/Salad Planters were assembled as per instructions, placed in position, checked for levelness (?) and the capillary matting wicks added.
Photo 14: Salad/Veg Planters ready for filling with the growing medium
The easiest and quickest way to prewet the wicks and fill the bottom reservoir with nutrient solution is to add it before filling with the growing medium (Video 2):
Video 2: Filling the Salad/Veg Planters with Nutrient Solution
There is not much to go wrong with the Salad/Veg Planters. I have lost a few of the stoppers used to plug the reservoir filler hole (Photo 15) ...
Photo 15: Reservoir Filler Hole on Salad/Veg Planter
... but these rubber bungs work well and are more difficult to lose.
So, finally, everything is in its place ready for the plants:
Photo 16: Polytunnel, clean and tidy and ready to go!


.JPG)


0 comments:
Post a Comment