In previous blog posts, here and here, I have discussed some of the reasons why you would want to have a compost heap somewhere in your garden. And, if you are going to compost, then you might want to consider doing it hot!
In this post, I will list the equipment I use in my hot composting for:
(i) collecting garden and kitchen waste
(ii) preparing organic waste for hot composting
(iii) monitoring of the hot composting process itself
(iv) maturation and finishing the compost
Essentially, how to turn this...
Contents of the kitchen caddy
into this...
NOTE 1:There are lots of ways to compost your garden and kitchen waste and I've discussed most of these, to some extent, in earlier blogs. Much of what I have to say applies to other forms of composting so these blog posts may be helpful even if you choose not to hot compost. I should also point out that, while I have been hot composting for over a decade, I do not know it all and I'm still learning. I make no claim my way is the best but, hopefully, there is enough useful information to make your journey to master hot composter somewhat easier than mine.
NOTE 2: I applaud anyone and everyone who gives home composting a try. There are a few things you should consider before you decide which route to follow. How much stuff do you have to compost? How much time do you have for composting? How and where you are going to use your finished compost? Whether alternatives (e.g. green and food waste collection by your local authority) might suit you better? I will tackle some, if not all, of these points in later posts.
OK! Let's get back to discussing the equipment you need, some essential and some optional.
(i)Collecting Kitchen and Garden Waste
We are trying to generate high temperatures (40 - 65 ℃) in the hot composting process so it makes sense to reduce heat losses from our compost bin by (i) insulating the bin walls, base and lid, and (ii) minimising the number of times we open the lid to access the contents. This is why I recommend always adding fresh organic waste in sizeable batches (> 2 litres) and, for this, you will need temporary storage bins for your kitchen and garden waste.
Kitchen Caddy
Kitchen caddies come in various sizes and colours. Mine is a fetching shade of blue, holds about two litres of waste and is kept under the kitchen sink. I use a compostable bag (5 litre) to line the caddy and add a handful of shredded card/paper to the bottom to soak up excess liquid, add some 'carbon' to the predominantly 'green' kitchen scraps and reduce smells.
Every 2-3 days, I empty the caddy contents directly into the hot compost bin but not the bag itself; this will be reused again and again until it gets too messy and, only then, will it also be added to the hot compost bin after tearing it into smaller pieces. Vegetable peelings, fruit skins, tea leaves and coffee grounds and small amounts of cooked food make up the bulk of the contents.
Kitchen Caddy
Paper/card Shredder (optional)
A paper/card shredder is useful for many things; e.g destroying confidential or personal documents. For even greater security, put the shredded material through a hot composter as well and increase compost yields!
Shredded paper/card is a useful adjunct to your composting material. It provides a convenient source of compostable carbon (e.g. to mix with wet greens such as grass cuttings) or as an absorbent if your bin contents become too wet (often too many grass cuttings). I recommend a strip-cut shredder because it handles thicker card than a cross-cut shredder and doesn't clog up as easily.
Confidential/personal documents and cardboard boxes from Amazon or other suppliers all pass through my shredder. I could recycle the cardboard boxes via our household waste/recycling scheme but choose to return the carbon to the soil as humus where it will remain for hundreds of years. Planting more trees is good for carbon sequestration, if done properly, but we could store far more carbon in our carbon-depleted soils than planting any number of trees. And also benefit from greater soil fertility and better drought resilience.
Garden Bin (optional?)
I have four plastic garden bins accumulated over a number of years through donation or repurposed after the local authority supplied new waste and recycling bins.
Plastic storage bins alongside one of my hot bin composters
They are multi-purpose serving as storage receptacles for either primary garden waste, shredded garden waste (see later) or sieved finished compost. Typically, one or two bins will contain primary garden waste (depending on the season - autumn is the busiest for composting), one bin will contain shredded waste ready to be batch-added to the hot composters, and one or two bins will contain sieved compost.
Is a storage bin optional? You could do without some form of storage for garden clippings, autumn leaves, grass cuttings, prunings, finished annuals and dead perennials. It just makes for an easier life and a somewhat tidier garden. You can use the hot composting system I will describe below in one of two ways: (i) completely fill it with organic waste and top it up as the contents biodegrade and reduce in volume, or (ii) half-fill the bin, allow the compost to heat up, and keep adding small batches regularly to maintain the compost temperature in the 40-60 ℃ range. Both methods work and you can alternate between the two in the same bin should you wish.
Garden Tools
If you have a garden then you probably have all the tools you need. I do not have a lawn or a leylandii hedge so you won't find a lawnmower or hedge trimmer in my garden shed. Neither do I have a particular problem with autumn leaves so the lawn rake and leafblower are absent also.
Selection of garden tools
What I do have is a natural hedge (hawthorn, hazel, dogrose, buckthorn and rogue bramble) planted for wildlife, some small trees (wild cherry, elder, crabapple, rowanberry and photinia), a small orchard (apples, pears, plums and medlar), a very small wood (oak, holly, hazel, birch and rowan), kitchen garden with fruit and vegetables and a number of flower beds. A good pair of secateurs is essential and is the main workhorse. Tree loppers deal with thicker branches (extendable handles are useful) while a pruning saw is needed only occasionally for the thickest of branches.
With this small range of tools, I can chop, cut, hack, saw, and slice my way through most vegetation. Your selection of tools may well be different but, no doubt, equally suitable for your own garden. Finally, you need a container such as a garden trug to gather all your organic waste on its way to the hot composter or storage bin.
Trug made of recycled plastic
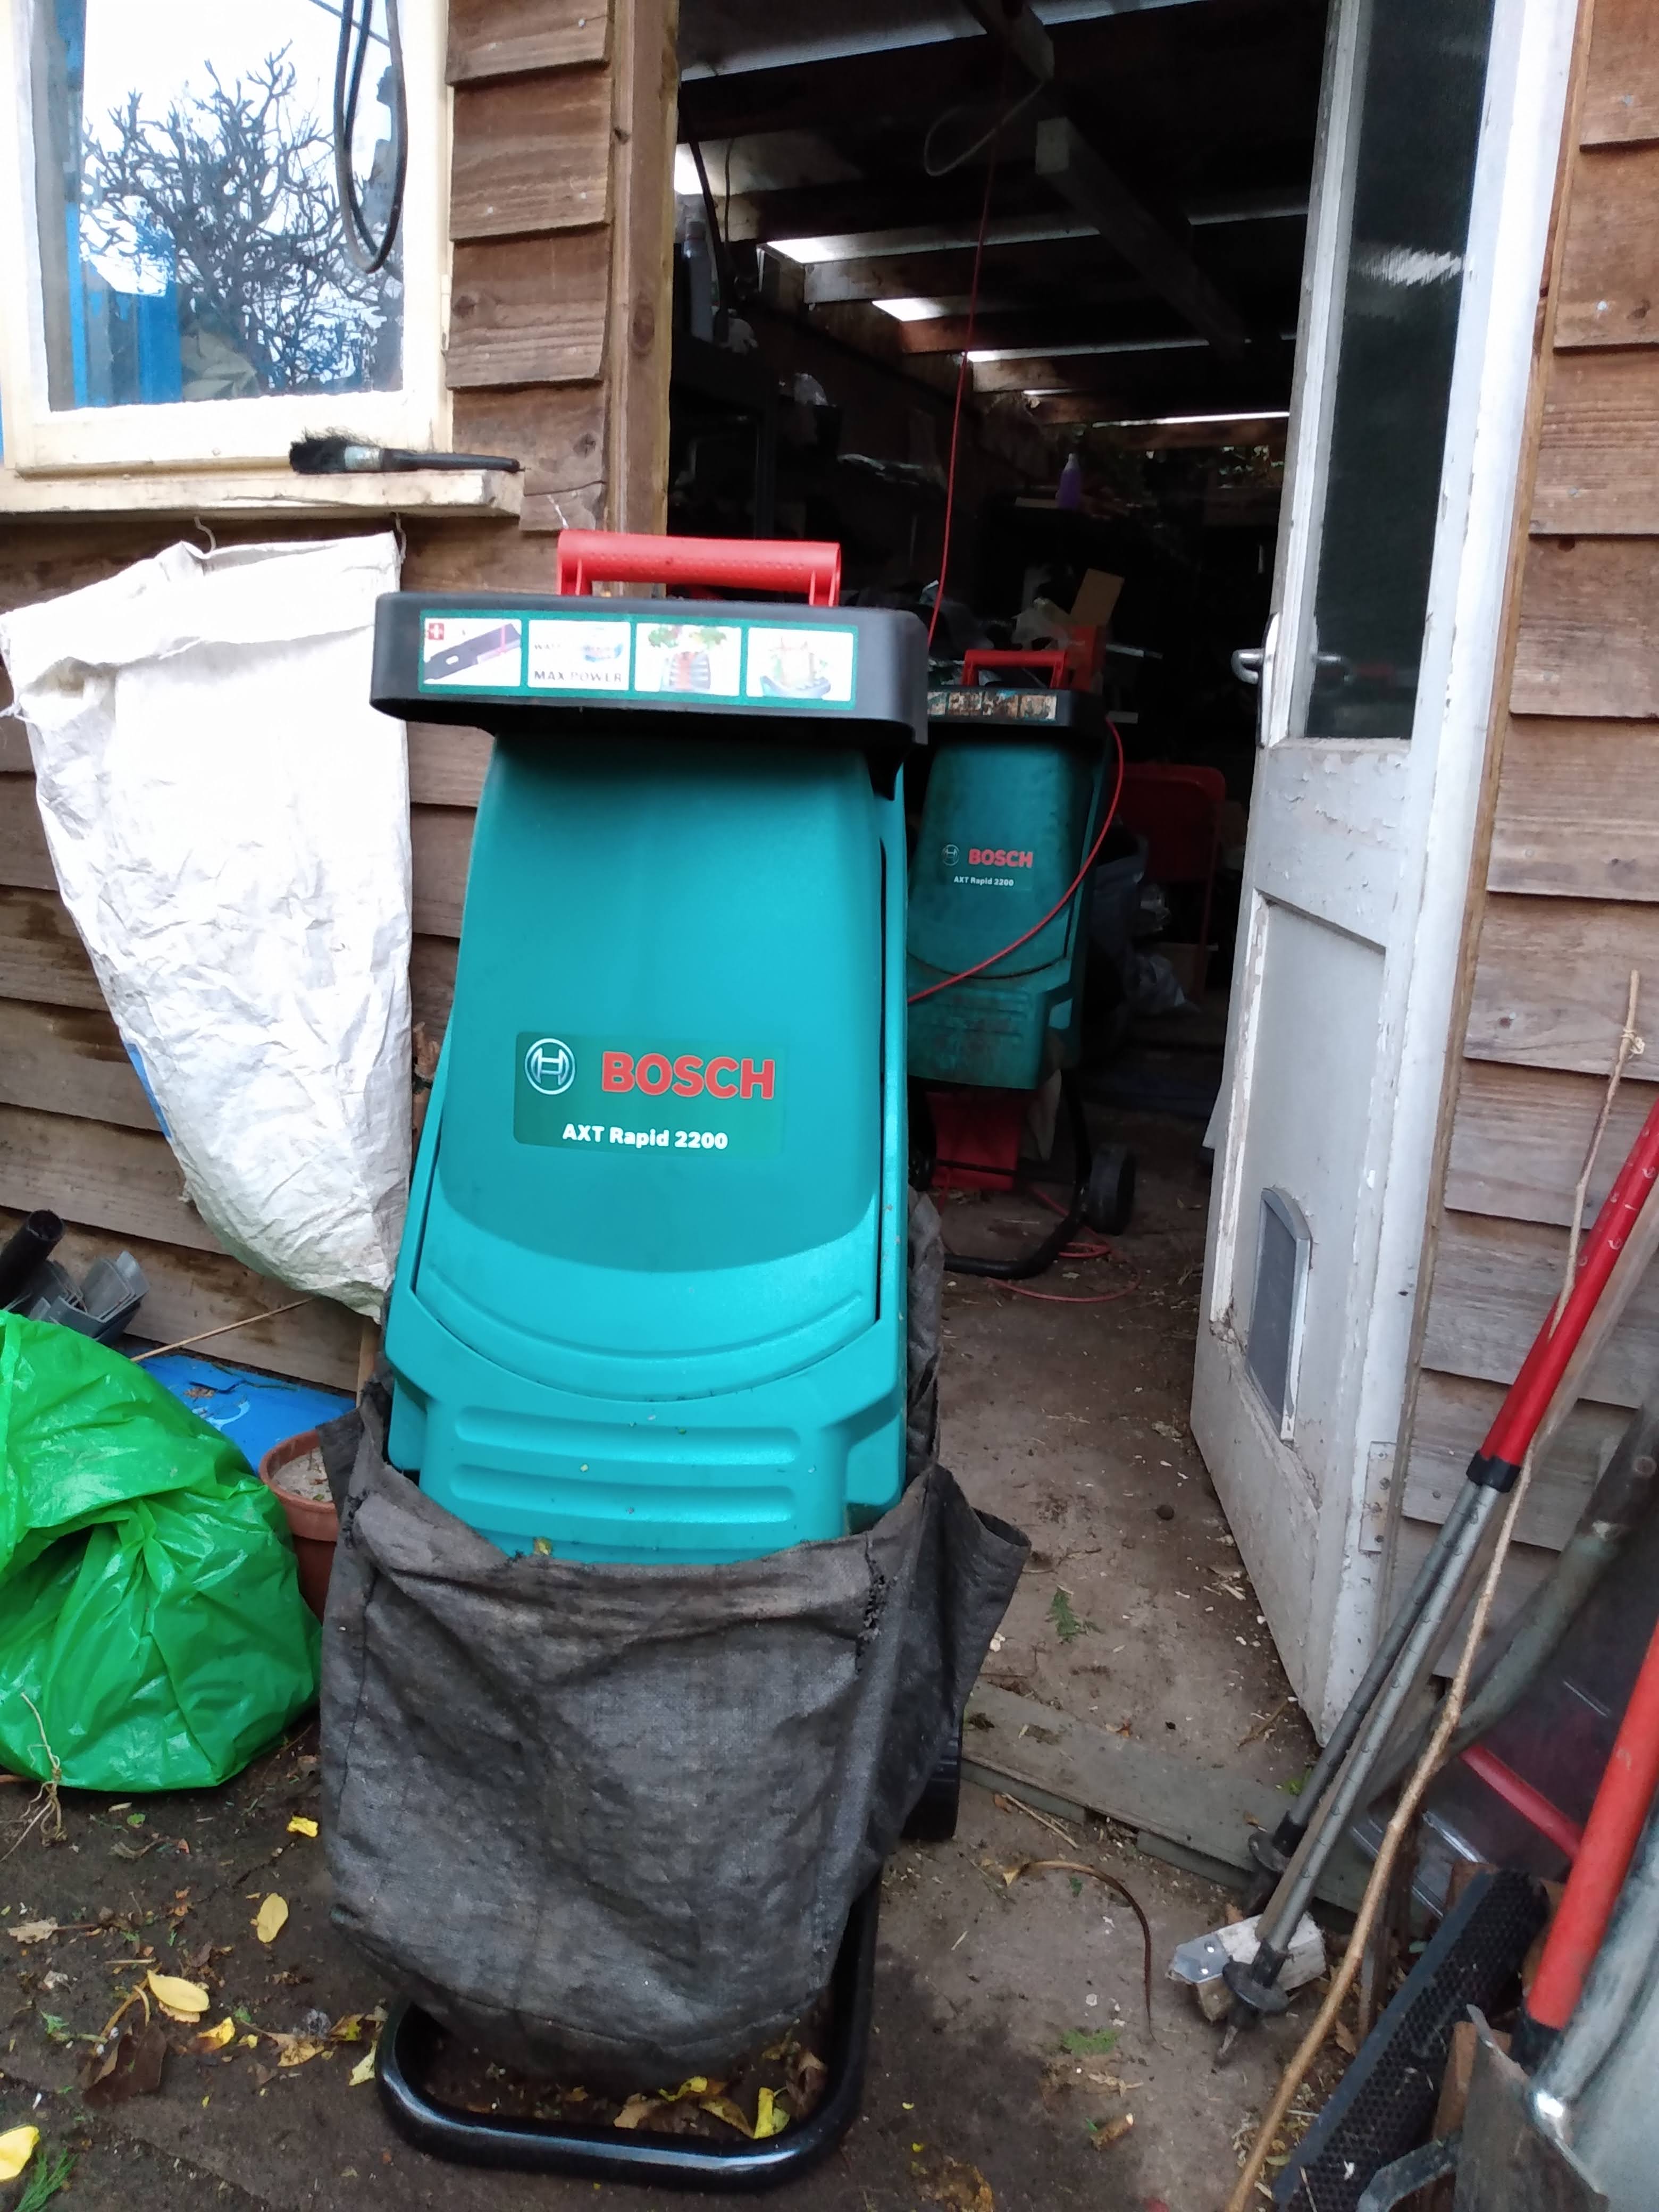
Garden Shredder (optional)
See my earlier post on the pros and cons of garden shredders. For my garden I consider it essential but if you are only composting, any or all of, lawn mowing, kitchen waste and soft prunings then you probably don't need a garden shredder.
Garden Shredder with spare in the background
I compost lots of woody stuff, including neighbours' Christmas trees, so a shredder is essential. I also process my green garden waste through the shredder (though not lawn cuttings donated by neighbours) as this saves time and does a better job than secateurs and scissors. I've even sliced stale/mouldy bread loaves and buns and windfall apples not fit for eating.
(ii)Preparing Organic Waste for Hot Composting
You are aiming to 'feed' your hot composter with a mix of 'greens' and 'browns' in square centimetre chunks or less because smaller pieces compost faster (larger surface area for the micro-organisms to work on). The ratio of 'greens' to 'browns' for hot composting is not too critical in my experience; anywhere between 75:25 and 25:75 is fine. More important is that the contents of the compost heap/bin do not get too wet as this reduces the natural aeration essential for continuous hot composting. Fortunately, the hot composting process is much better at regulating water content than your standard cold compost heap.
Preparation of your organic waste streams depends on its source:
cut green kitchen waste as small as practical with a pair of scissors or a kitchen knife and add to your kitchen caddy. Try to include some 'browns' (cardboard, coffee grounds, tea leaves) if you can but this can also be done later when you add the caddy contents to your hot composting bin. If adding to an established hot composting bin running at 50 ℃ or above then soft kitchen waste (e.g. banana skins) doesn't need to be cut up.
lawn mowings should be added in small quantities with some 'browns' such as wood chips, woody prunings or shredded cardboard. Cardboard also helps to absorb the excess moisture present in freshly mown grass. Alternatively, if you have space then allow the grass to dry out somewhat before adding to the composting process.
chop up green garden waste (prunings, cuttings, etc) with secateurs or put through a shredder. Adding 'browns' is less critical because the chopped up stems/leaves/roots still have sufficient structure to allow airflow through the compost heap. If using a shredder try to include some woody garden waste with the green stuff. Small weeds can be added directly to the hot composting process
Woody garden waste (tree prunings, raspberry canes, hedge trimmings, etc) can be cut into small pieces with secateurs but a shredder is more efficient if you have significant quantities
Finally, I will mention autumn leaves. I don't have large amounts so just add, via the shredder, to the hot compost bins as part of the general garden waste. If you have large amounts to process then consider making leafmould. Simply gather up the leaves into a black plastic bin bag, seal with a knot, puncture the bag with a garden fork and leave in a quiet corner of the garden for 2 years to rot down.
(iii) Maintaining/Monitoring the Hot Composting Process
Although not mentioned yet, you will need a hot composting bin! There are a few commercial options or you could build your own. If you decide to construct your own you will need an insulated, vermin-proof box that incorporates some form of fresh air intake (to provide oxygen for the aerobic composting micro-organisms) and a waste exhaust (to remove excess water and gases).
Examples of commercial options include: HotBin, Aerobin and the Johanna. All these bins have insulated bodies (the Johanna also has an optional 'winter' jacket), good vermin security (to allow cooked food/meat to be composted) and patented aeration systems. A static aeration system is important because it means you don't have to 'turn the heap' to add the fresh air needed for successful hot composting. I have no experience of the Aerobin or Johanna hot composters - they look well-made if a little thin on the
insulation-side. I've not seen any detailed comprehensive reviews for the Aerobin or Johanna - let me know if you are aware of any.
For the rest of this blog series, I shall be discussing my multi-season experiences with the HotBin. Here you can see it in-situ next to my Maturation Bins where stabilised compost from the HotBin is 'finished' by the worms and fungi.
200L HotBin (Mark 1?) with hand cultivator and small garden fork
I've had three Hotbins - all older models - of which the one above is the only one I have left. The lid hinge broke on one of them (my fault) and the base is now a garden planter...
HotBin Planter
...and I sold another cheaply to a friend when I was testing a SuperComposter prototype for Tony Callaghan (inventor of the HotBin) at Soilfixer ...
SuperComposter (prototype)
In this post, I will be specifically referring to the HotBin though I will provide more details on the SuperComposter in later blog articles.
Apart from the HotBin itself and a supply of organic waste, the only tools you need for successful hot composting are (i) a means of mixing the contents, and (ii) thermometers for monitoring temperatures.
My HotBin came with a single-prong raking stick which lasted a few years before I had to replaced it with a stronger 3-pronged cultivator (see HotBin photo above). I also use a small garden fork (same photo) if I need to mix the bin contents more thoroughly. Both tools are also used to extract finished compost from the bottom hatch. I also have a couple of pieces of wood handy: a 2" x 2" length for keeping the lid open while working on the contents...
... and a 2" x 1" length for tighteneing up the belts holding the hatch door (see mani HotBin photo).
In order to control and maintain the HotBin at the required temperatures, we need thermometers to monitor the internal temperatures of the contents. A short probe thermometer is embedded in the lid...
Lid thermometer of HotBin
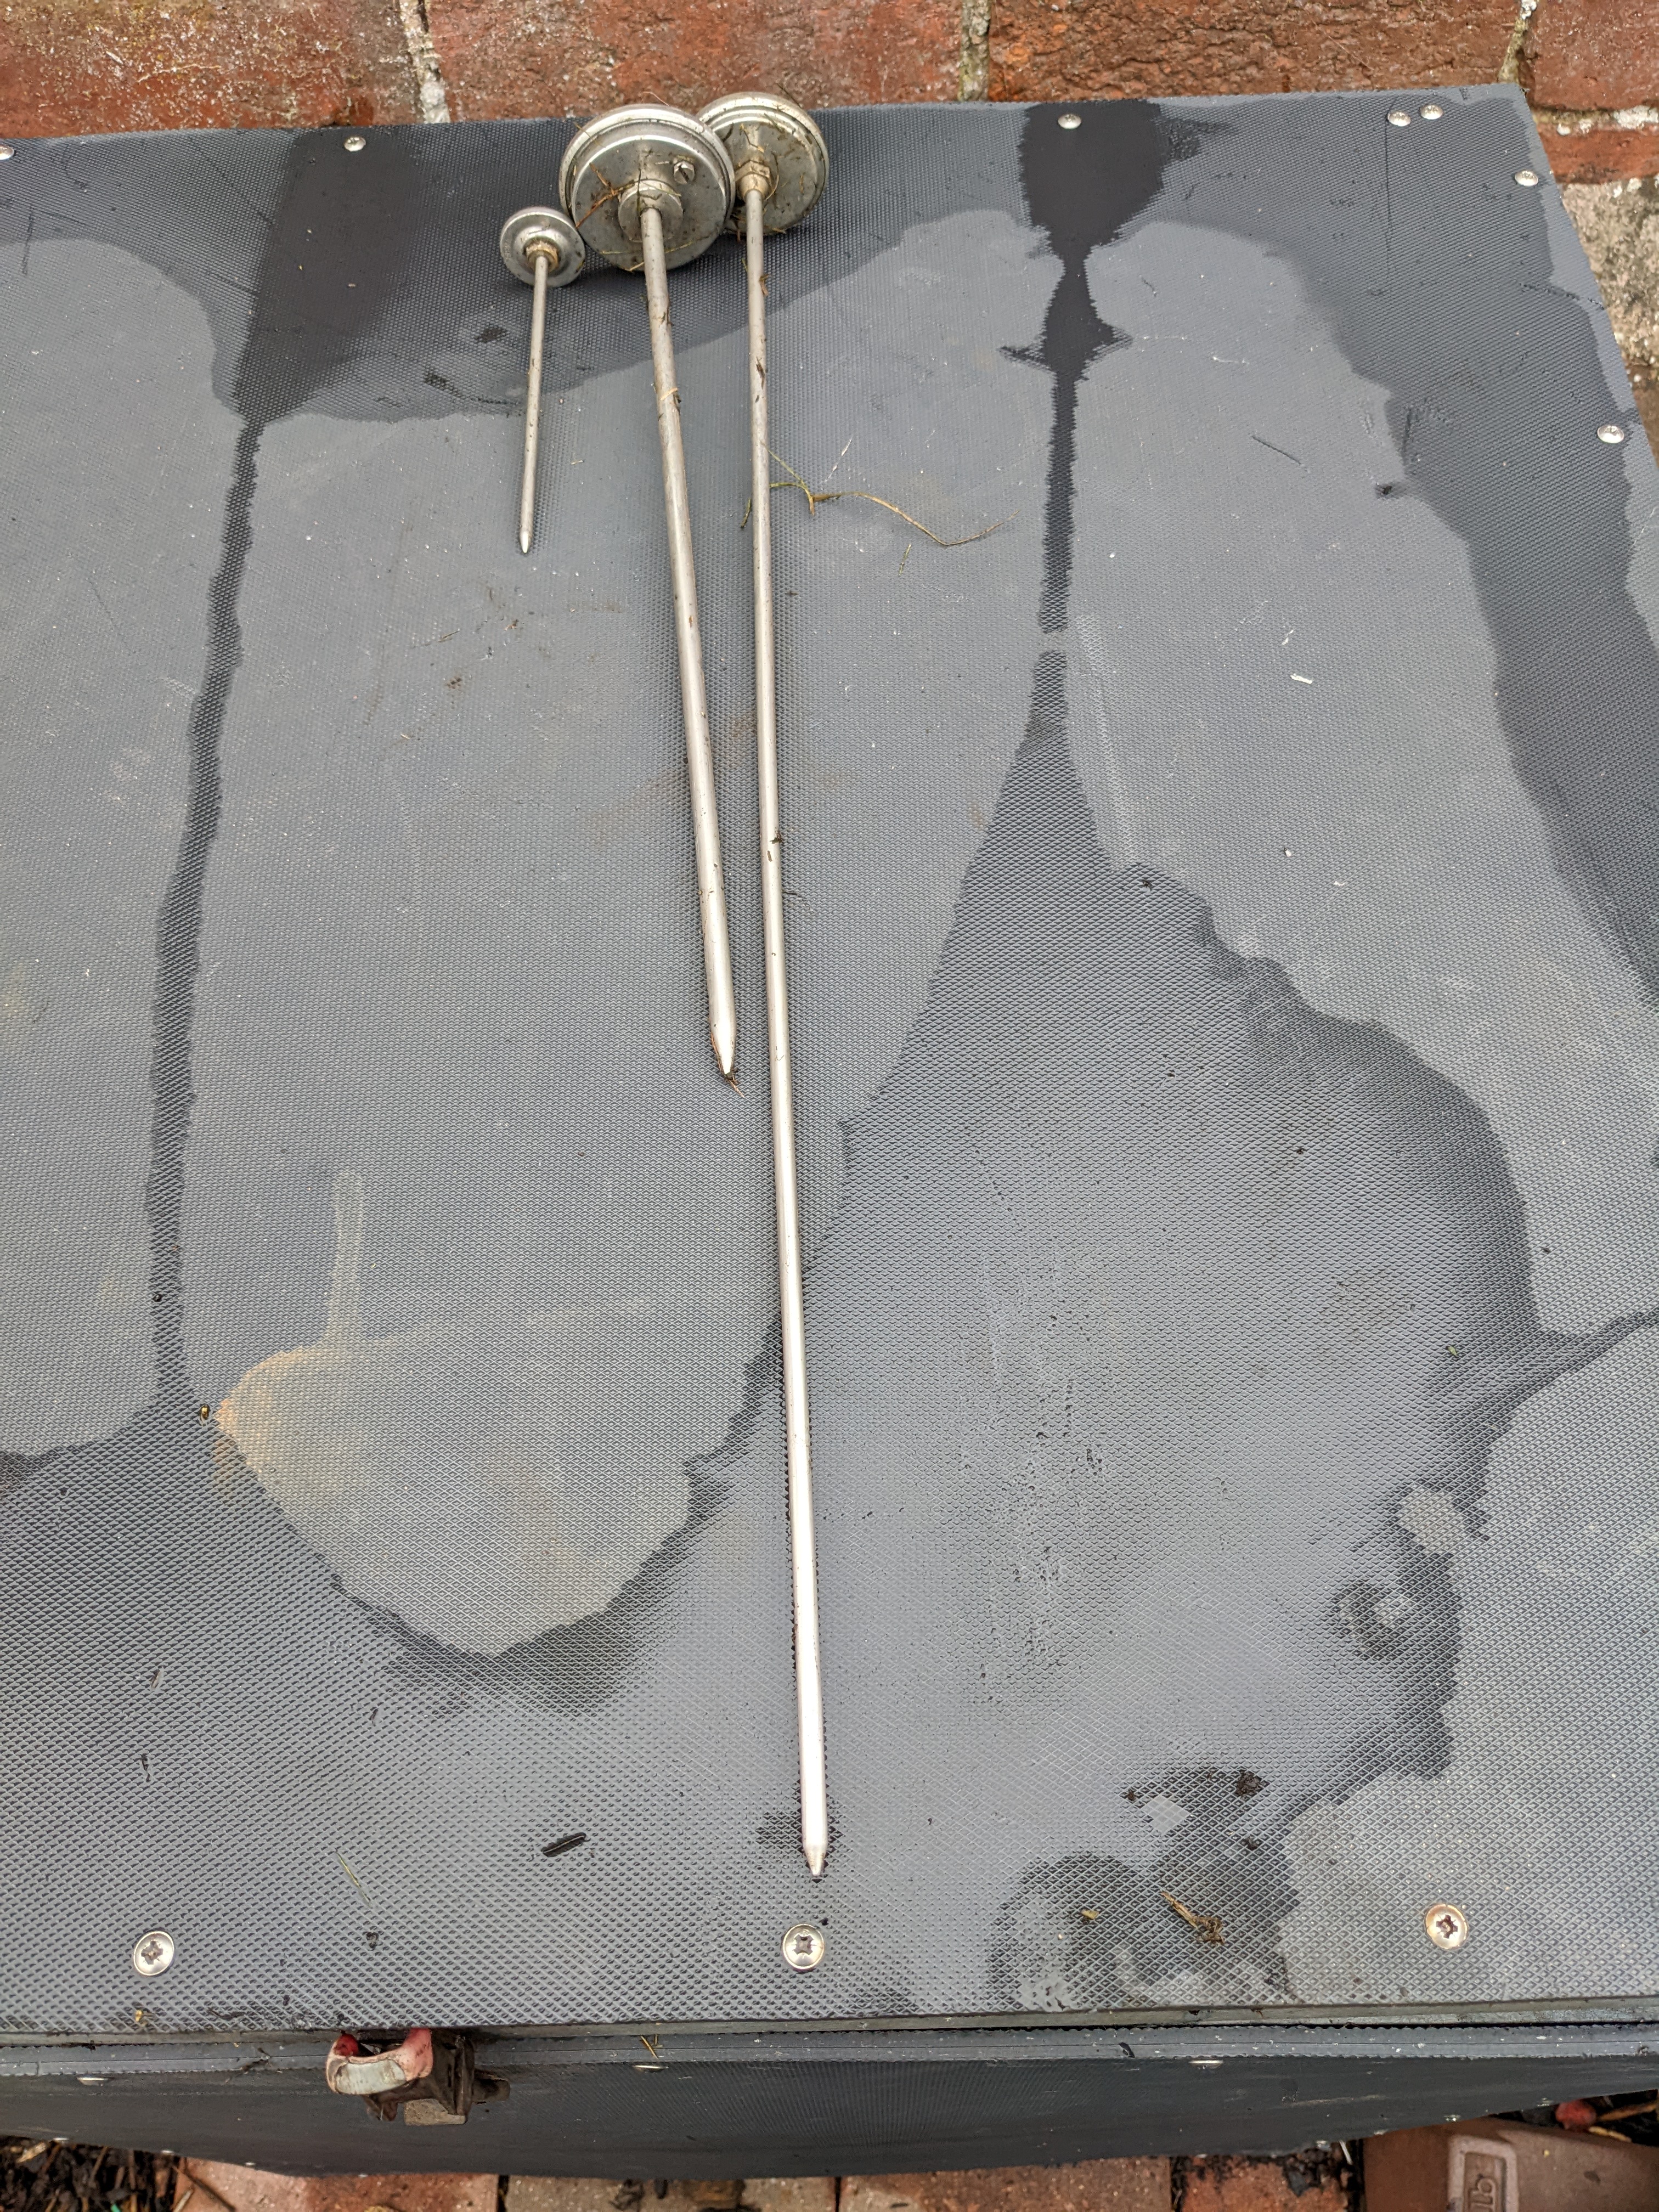
In the HotBin I converted to a garden planter (see above), I recovered the thermometer and found it was reading about 15 ℃ too high. So while a useful quick indicator that the bin is hot, you should test with probe thermometers placed in the composting medium. I use a set of three themometers with 50 cm, 30 cm and 10 cm probes available from the usual outlet...
Probe Thermometers
These do not need to be especially accurate, say + 2 ℃, and a simple check against known ambient temperature is generally good enough. I will provide details in a future post how to do a more accurate calibration. When you buy a new HotBin, it will come with a 25 cm probe thermometer.
A final word on monitoring the health of your HotBin contents; especially with regard to its moisture content. Eventually, from experience, you will know whether the contents are too dry or too wet. As a general rule, if the top active layer of your bin is above 60 ℃ then you do not need to worry about water content - your microbes are working just fine. If the bin contents are in the 50 - 55 ℃ range, you should monitor for a few days. Too wet a compost leads to poor aeration, a drop in microbe activity and a drop in temperature. The composting micro-organisms need a water content of between 40-60 % to breed and multiply so too dry a compost will also lead to a fall in temperature. To test for the optimum water content, grab a handfull of compost (beware it may be hot!!) and squeeze; anything more than a drop or two of water means the compost is too wet. Add shredded card to absorb excess water and aerate to add more oxygen. If the compost is too dry, add water in small amounts and mix in. The HotBin does a good job of correcting for excess moisture as long as you maintain a high enough temperature (>55 ℃).
(iv) Compost Maturation and Finishing
Once the compost has spent 30 days or so in the HotBin, it is transferred to a set of regular bins to allow it to be finished off by the worms, fungi, etc. Typically, it will spend 6 months to a year in these bins.
Maturation Bins next to the HotBin
Compost from the Maturation bins may be used directly in the kitchen garden or sieved to remove any part-composted wood.
Raw, Sieved and Part-Composted Wood
The partially-composted wood can be put through the hot composting process again where it serves as a bulking agent for improved aeration (instead of buying bark chippings).
Summary
This article provides a list of the equipment I use to successfully compost kitchen and garden waste at elevated temperatures (40 - 60 ℃). Some equipment is optional and much of it will already be in the garden tool shed.
In future posts, I will provide more detailed instructions on how to set up and maintain your HotBin and how to troubleshoot if you do have problems. This will include actual field data on the types of material added and temperature profiles for a working HotBin. If you have any particular issues or need advice then you can contact me through this blog.
In the next post on hot composting, I will discuss what size of bin you need for your size of garden.


0 comments:
Post a Comment